• Welcome to the Checkmate Community Forums forums.

    You are currently viewing our boards as a guest which gives you limited access to view most discussions, articles and access to our other FREE features.
    By joining our free community you will be able to:

    » Interact with over 10,000 Checkmate Fanatics from around the world!
    » Post topics and messages
    » Post and view photos
    » Communicate privately with other members
    » Access our extensive gallery of old Checkmate brochures located in our Media Gallery
    » Browse the various pictures in our Checkmate photo gallery

    Registration is fast, simple and absolutely free so please, join our community today!

    If you have any problems with the registration process or your account login, please contact support by clicking here or by using the"contact us" link at the bottom of the page.

502 rebuild/refresh thread

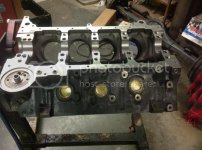
we have got the parts from the machine shop and they look great.
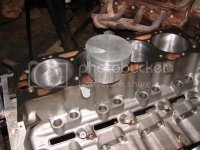
robcenters509003_zps4863c150.jpg
We had to do some measuring for Bob and found a problem in the valve train.
when you add lift on a cam ,the lift does not only come from exrta heigth on the lobe but from a smaller base line circle.This makes your lifter ride lower in the bore when the lobe is down.. The cam that was used should have had a virtical bar instead of the dog bone style lifter that is used in this motor. We were going to have to use a smaller cam profile to use the lifters. But after a close inspection the lifter has been rideing out of its retainer and has worn machined spot for the retainer seat.
some fuzzy pics sorry

robcenters509001_zps73ba35fb.jpg
robcenters509002_zps375bd7ba.jpg

I can't beleive it stayed in there . The good news is It will get the right lifters and cam . And we can go back to what we want. I am copying a build that bob has done before with this combo. Should make 620 HP @ 6200 with pump gas N/A. I think that it will be pleanty of HP for that light boat.
and shake the windows on the house boats at the dock .:eyecrazy:
 
That is interesting that the previous cam had such a large baseline. That sounds just like a total miss match happened by sliding in an unknown shelf cam. Even one not meant for Gen 6 setup.
 
this cam would have worked with the right lifters. It had the gen 6 nose on it. The spring press was only 105 closed and 290 open so I would say you hit it right on the head. Most people do not take all things in concideration when installing a cam. I would say the valve springs are what comes on a zz502 but were used when installed.
 
wow 620hp? Sounds mean. The new lifters sounds expensive though :(

This boat goes way above and beyond the term break out another thousand.:brickwall:

This thing is the single biggest mistake I have ever made in my life. And that is saying a lot. I have made some whoppers in my day. Im sure when Jeff gets the engine right the hull will break in half. That's even if I can get the engine installed on the screwed up stringers with the engine mout stud left broke off inside it from previous owner.:sick:
 
R, I had similar issues as you have. I had to redo my engine mounts also as some of the superficial glass work around them was delaminating. I basically had to remove my engine mounts by shearing the bolts. Then after I fixed the glasswork, I clocked the mounts and drilled new holes. Somehow I managed to not even have to adjust alignment when I reinstalled new engine. Everything will be worth it once you get to feel the new power. Hang in there brother! I feel you pain! No, really I do.....

Of course I type this as we are getting our first snow/sleet showers of winter...yuck!

that is exactly what my mounts are doing. they are solid but look like ****. I know it is superficial but I know less about glass work than I do engine work. One of the lags is broken off about 3/4 of an inch down o and don't say easy out, they aint easy and I have 1 of those broke off in there too so no more drilling.
 
Hmm, I'm starting to see similarities with your motor and mine makes me think I need to do what your doin. A little down on power, a little milkshake under valve covers, possible water reversion (HUGE can with Gil manifolds), and oily engine compartment. They might have been built by the same Guy.


I hope the same guy didn't build both. look at the mistake that was made on my cam just above. Anyways, reversion is not good, pull your breathing tubes after engine gets hot. If you see any steam, rebuild now, don't wait. maybe you can save your valves
 
I hope the same guy didn't build both. look at the mistake that was made on my cam just above. Anyways, reversion is not good, pull your breathing tubes after engine gets hot. If you see any steam, rebuild now, don't wait. maybe you can save your valves
I have made the same type mistakes in my time. It happens when you want to go fast. Hard Knocks U:brickwall: is where I went to school.But I try to learn from my mistakes.
Lets focus on how many smiles to the gallon you are going to get.:bigthumb:
O' by the way I am taking a break from cleaning the parts with thinner to prep for paint. A little light headed Ha Ha
 
that is exactly what my mounts are doing. they are solid but look like ****. I know it is superficial but I know less about glass work than I do engine work. One of the lags is broken off about 3/4 of an inch down o and don't say easy out, they aint easy and I have 1 of those broke off in there too so no more drilling.
Yea, drilling is going to get you nowhere on those. They are very large lag bolts that are epoxied in. Best just to break the other bolt off, clock he mount, redrill and re epoxy. It will turn out ok.

Dont get discouraged. It is soooo worth all the trouble when you are running again with the extra HP. Its all about the smiles per mile not gallons per mile remember.
I have made the same type mistakes in my time. It happens when you want to go fast. Hard Knocks U:brickwall: is where I went to school.But I try to learn from my mistakes.
Lets focus on how many smiles to the gallon you are going to get.:bigthumb:
O' by the way I am taking a break from cleaning the parts with thinner to prep for paint. A little light headed Ha Ha
I am currently a student at that university now! Rah Rah! Education is expensive no matter which way you go about it. At least you get funny stories and a good broken parts "wall of shame" this way. I know I have a sweet gen 6 coffee table!
 
Time to start putting this thing together!

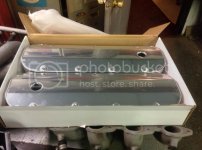
New valve covers!
image_zpsbab0ae2d.jpg

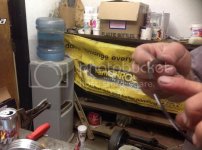
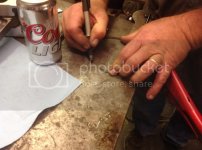
Let's file fit those rings
image_zpse9de59a6.jpg

Mark them with a marker so you don't over file, no going back if you do
image_zps8877e58c.jpg

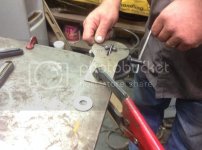
Filing away
image_zps58818103.jpg

Very important! Remove burs after filing so rings free spin!
image_zps2f62dcc3.jpg

Follow those manufactures specs. Finished.
image_zps7cc0705a.jpg

Looking good, let's put in the mains and crank tomorrow
image_zps8bb0e77c.jpg


Disclaimer
This is all Slingblade Performance Knowledge. Jeff is the man, I am only passing it along through these pictures. I am merely a parts cleaner and student..haha

:banana:
 
Since a certain someone ordered the wrong bearings for the rods we decided to get the painting out of the way. Right Slingblade? Who wants to install pistons anyway when you can get hi on fumes..lol :poke:
However, the crank is installed...

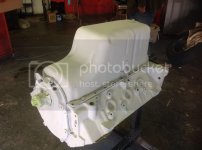
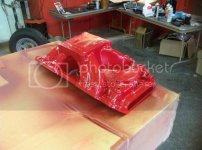
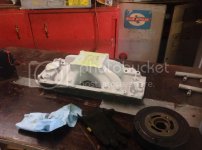
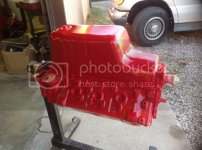
Primer time
image_zps9269a43e.jpg

image_zpsf2809a56.jpg

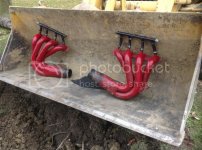
Bring on more red hotness
image_zps707f3d79.jpg

image_zps8460426b.jpg

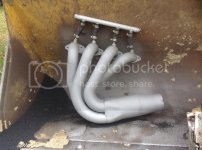
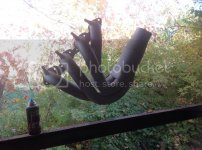
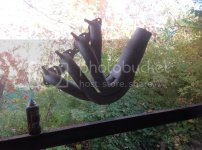
Silver for the headers
image_zps898ccd17.jpg

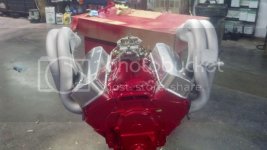
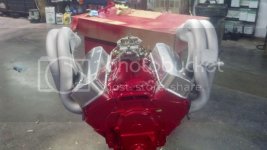
Just for gigs, had to see what it was going to look like together so put a couple bolts in to get a gander
image_zps5b6eb5ba.jpg
Did you get some left over (slut red) from Kurtster?
 
Back
Top