• Welcome to the Checkmate Community Forums forums.

    You are currently viewing our boards as a guest which gives you limited access to view most discussions, articles and access to our other FREE features.
    By joining our free community you will be able to:

    » Interact with over 10,000 Checkmate Fanatics from around the world!
    » Post topics and messages
    » Post and view photos
    » Communicate privately with other members
    » Access our extensive gallery of old Checkmate brochures located in our Media Gallery
    » Browse the various pictures in our Checkmate photo gallery

    Registration is fast, simple and absolutely free so please, join our community today!

    If you have any problems with the registration process or your account login, please contact support by clicking here or by using the"contact us" link at the bottom of the page.

Bobby's Bravo Blues(Worn gimbal ring)

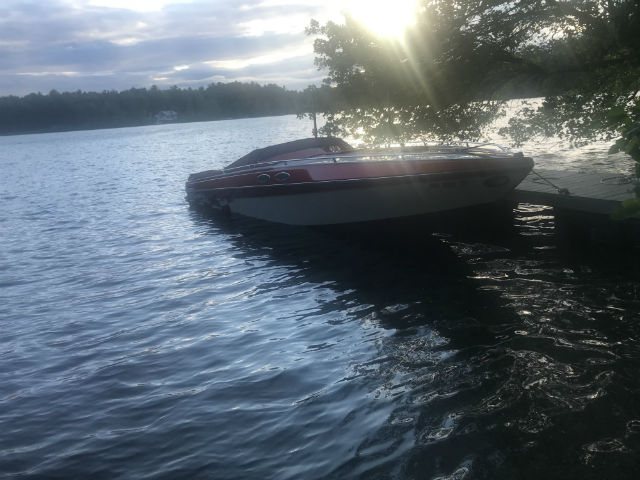
So while I'm waiting for a new ignition switch and keys to get here so I can take the boat back out on the water I did some more work on it today.

My hatch actuator has gotten to the point this year where it does not work at all without my help. I don't remember who it was on this forum I read said to move relays/power closer to the actuator to fix the problem but you ROCK! The change was easy to do and the results are awesome!:bounce:

I purchased the Cole Hersee 24452:
24452.jpg


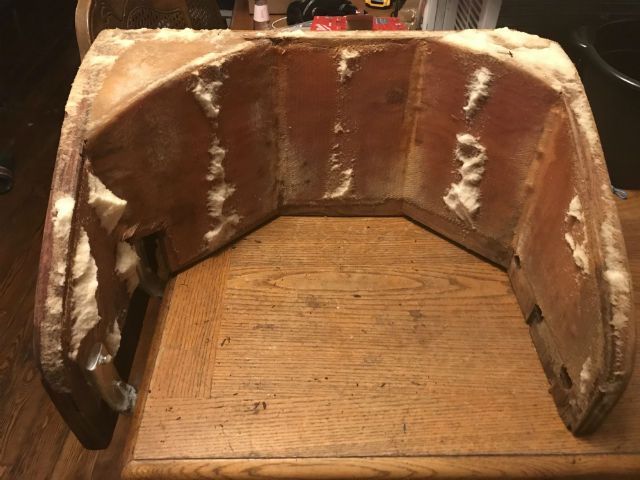
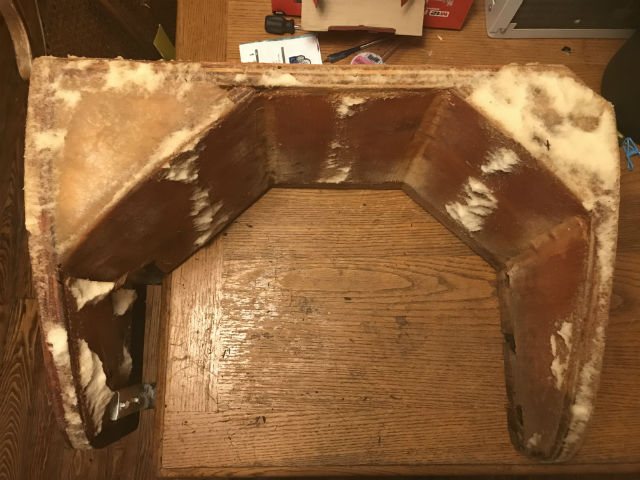
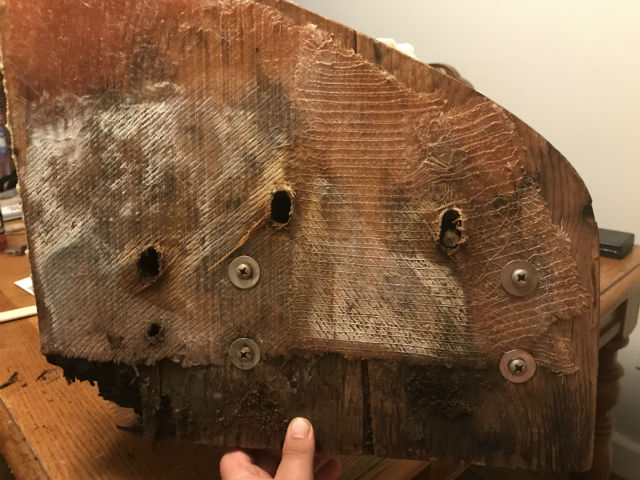
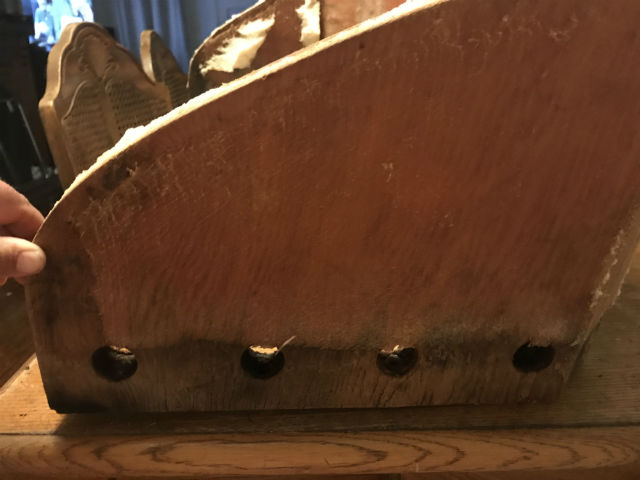
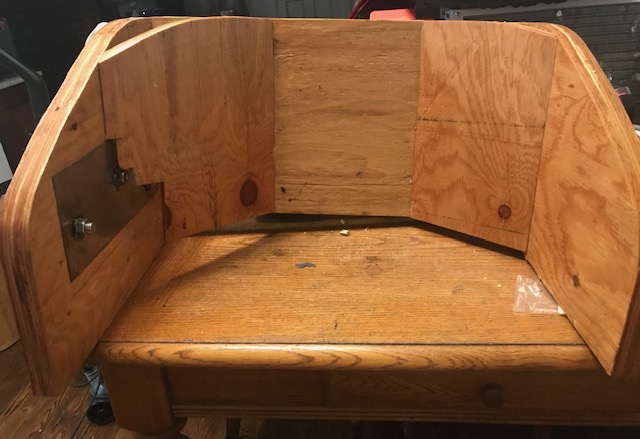
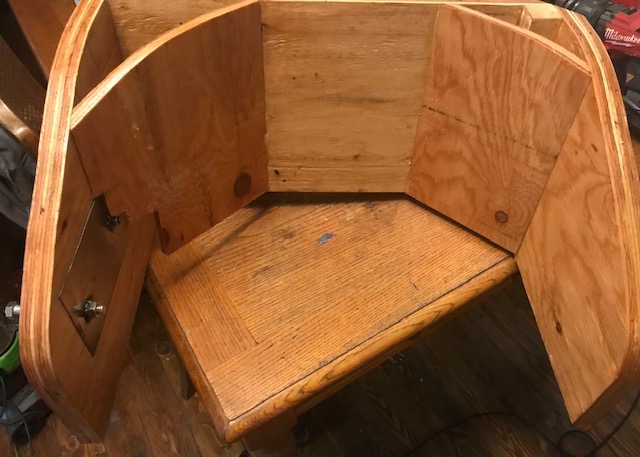
Hatch actuator stock:
FHD0005_zpscuch72jx.jpg

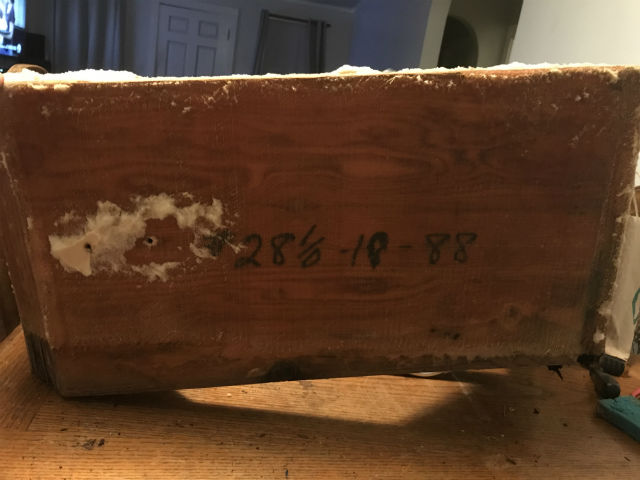
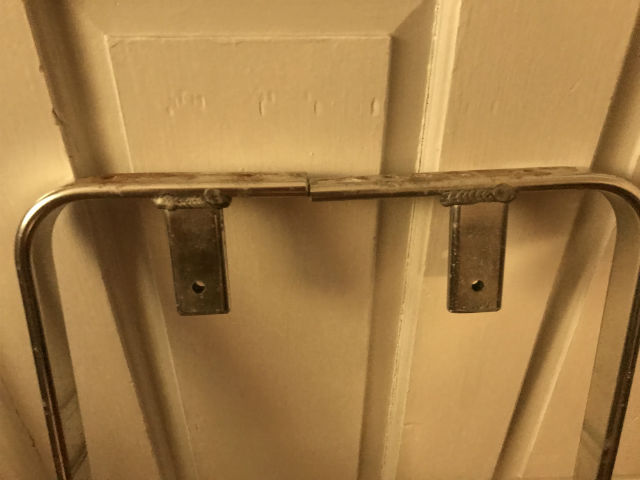
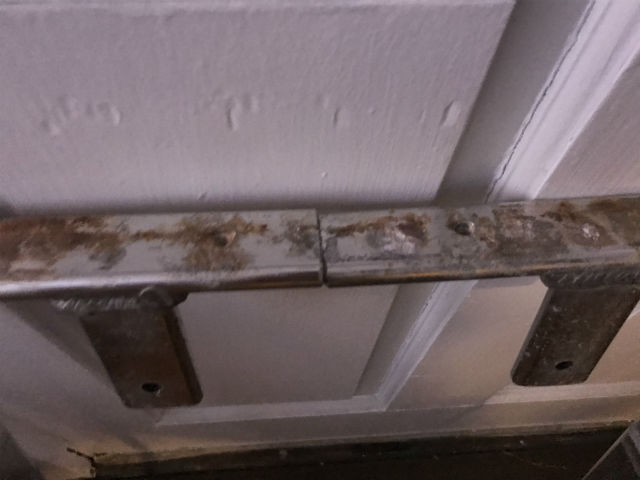
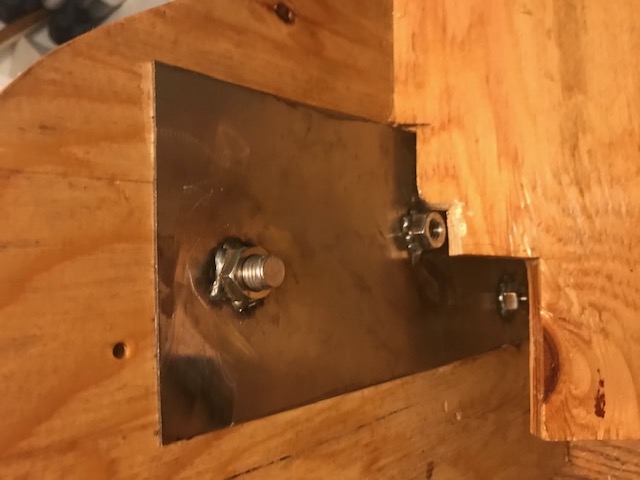
CH24452 redneck mounted to the actuator and wired up:
FHD0006_zpshmdogyrt.jpg

Video with before and after:


Got a plan for a less ghetto mounting of the relays I'll share once I done.
 
Just tagging this so I can reference that relay again later. Looks like a nice sealed unit for Marine use.
 
So the weekend ending up being pretty disappointing. It was the first time I was able to take the boat out since I change the fuel pump. The issue where the boat would cut out during longer 3/4+ runs has only gotten worse.

Now doing much over 2k RPMs for more than roughly 15 seconds the fuel pressure gauge will go from steady 6.5psi then instantly drop to zero. Higher RPMs it happens sooner. So seems like my issues is coming from the tank to the pump.

Plan:
1. Replace the line from the the tank to the fuel filter with new AN line.
2. Pull and replace the fuel pickup add some type of filter.
3. Inspect tank through fuel sender access panel as best as I can. If I see anything going to have USA Fuel Services clean the tank. May do this no matter what.
 
Another day more dissapointment

So today I did more work on trying to figure out why I'm get fuel pressure drops under throttle once the carb bowls empty. Narrowing it down that the issues must be happening from the tank to the pump I started tearing into stuff.

Sigh.... the lines and pickup don't look real old or deteriorated :(
5D845B07-16AD-4839-932B-83E50F3D4303_zpsnkftog1y.jpg

Anyone know what this **** is? I was able to crack it off it looked almost like a thick shellac.
0CCF4143-6C06-43B4-921B-EF07B5BD6B31_zps8i9len8g.jpg

That anti-siphon valve looks pretty new... and it seemed to work perfectly. Also the rubber line had no blockage :(
D8B7408D-438C-48BB-9D98-47B7533F6CB4_zpsrgrrj4ye.jpg

Hey look the pickup is out! Does anyone know if this is stock? It has a small wire screen about 2 inches inside the metal tube. Also it stays 3/8" NPT on the outlet. Most of the replacement one's I found so far are plastic tubes and pitch down to 1/4"npt on the outlet this one is def nicer.

Saw a little debris against the screen I dugout out but pretty much nothing that could cause the pressure to drop to zero. :brickwall:
7AAC33E7-440F-43D6-B6A8-DADBF534D431_zpstnloqt9r.jpg

Seems like there is something going on in the tank :brickwall: Using a stick through the pickup hole the tank is around 75% full. Currently pumping out the gas with a little electric fuel pump not completely sure what I'm going to do once that is done. Anyone have ideas?

I do have a plan I'm going to do no matter what. If you look at the 2nd pic you'll see there is a provision for a second pickup. I'm going to run 2 pickups and Y them together. Hoping this will keep things working fine if one becomes totally blocked or both partially blocked. Probably wishful thinking but for the small cost in parts worth rolling the dice.
 
Is your vent line clogged? Dumb question but sounds like your up for anything at this point.
 
Is your vent line clogged? Dumb question but sounds like your up for anything at this point.

You nailed exactly what I was about to say. If there's no leaks on the fuel system going to the pump, it pretty much has to be the vent. As you draw fuel from the tank the vent has to allow fresh air in, otherwise you end up putting a vacuum on the tank which pulls the fuel back in you're trying to suck out.

and damn you for beating me to the response too... if correct that woulda been the second old school carboatmotor mystery I've solved tonight! LOL
 
Is your vent line clogged? Dumb question but sounds like your up for anything at this point.

Thought maybe that so tried running with the gas cap open on the water. Problem was still there but you right I'm def up for anything at this point!

Or hairline crack somewhere in your pickup tube. Might explain the unknown substance.

Worth coming up with a half-ass pressure test of it.
 
Can you visually look at all the lines while you're running? are any lines prior to the pump collapsing under the draw? Is your fuel pump prior or to or after your fuel filter?
 
Can you visually look at all the lines while you're running? are any lines prior to the pump collapsing under the draw? Is your fuel pump prior or to or after your fuel filter?

I can see some of them but they are not 100% visible without pulling a lot of stuff out. No guarantees but line looked like its been changed and strong. Will be changing it for braided stainless.

Pump is after mercury water/fuel filter not ideal but this is exactly how Mercury does it stock.
 
Update

Pumped all the gas out of my tank and have poured a cocktail of several products in with some new gas and letting it sit till I pump it out. Did not look like any debris came out when pumping it out the first time.

Didn't find any new marine fuel pickups I liked. Most went from the tanks 3/8" npt to a 1/4" NPT out. Only found one that wasn't but used a plastic tube so I decided to make my own pickups. Since I been having fuel delivery issues I choose to make it as simple as possible and remove any possible failure points. Hence I did not to use any type of screen/filter on the pickup and since my lines don't go below the tank not use an anti-siphon valve.

Drilled 3/8" NPT to AN aluminium fitting out with a 1/2" drill for the tube. Tube is 1/2" OD 1/16 wall thickness from Lowe's.
04016A37-A45D-4DC2-81A4-AA1CBD139FE2_zpsockovcik.jpg

Test fit finish product with the 90 AN that I'll be using. Still need to cut the pickup to fit the tank depth and use some JB Weld to make an air tight seal between the tube and fitting.
E99D981A-791D-44D2-A5FB-E4F5B1C789C3_zps56eop2tf.jpg

Hopefully with two of these the redundancy will stop my fuel delivery issues...
 
I think I got it!

So took the boat out with the new pickups and I'm happy to report no engine cutting out at all. :thumb: Was using it on a smaller lake close by to test so was only able to get up to 55mph before running out of room. Did it several times no issues and last time it was cutting out way before that. Hopefully I'm all set but unfortunately just it time for the season to pretty much be over here this year.:(
 
My 88 251 tank looks like yours except my pickups are welded in like your vent tube is. I ran lines to each of them directly to my fuel filter/water seperator. Did away with the anti siphon valve altogether.
 
1. Dam you photobucket this thread now kinda sucks!

2. Have not been able to boat much this summer with some much other things going on in my life. I was able to get out on the boat twice this year and it has been brilliant! Between fixing the gimbal and the gas problem I've finally been able to experience the full capabilities of this boat. 60-65mph on the GPS in a 1-2ft chop and the boat just feels so safe and stable. I'm officially in love with this boat! :surf:
 
Bringing this back from the dead! Last couple years I haven't really had to do anything to the boat other than just enjoy using it. I purchased some land on on a local pond I'm going to built a house on. Although the boat can not stretch it legs 100% on it I'm happy to not have to trailer it all the time.

Sitting at it's new home:
ch1.jpg
ch2.jpg


Anyway I have a new problem I need to fix and decided to share with you all and maybe get some good advice along the way. My drivers seat has lag bolts that go through the gunwale into the seat that have ripped out. These keep the seat both up and from moving left to right. I've been avoiding having to tackle this but the time has come...

Tore the seat down to the frame today.They are covered in a layer of fiberglass except for the bottom 3inches. Anyone know if this is factory?
chsf1.jpg
chsf2.jpg

chsfback.jpg


Hull side where the 3 oval shaped holes are where the lag bolts where that ripped out. Bottom 4-5 inches of wood wet and totally rotted out. Sure it goes higher underneath the fiberglass.
chsfrot1.jpg


Inside bottom 2 inches also wet and rotted but not as bad.
chsfrot2.jpg


Always wondered about this design and that it is not solid but split here. It depends on the the screws that go through these metals stands into the seat wood to keep them in place. Both of mine overlap cause the screws have ripped out. It seems like a lot to ask of some small wood screws and I think I'm going to either weld or reinforce this so it is not left up to the wood screws. Also make refinish these in some manner.

chstantion1.jpg
chstantion2.jpg
 
So I'll update where I am on my seat rebuilt. I copied the original but one change I made is instead of lag bolts going into the wood on the side I bonded a metal plate to the wood and welded some ss nuts and will use bolts. I figure this way if the wood does start to rot again it will have to be a section much large than just around where the lag bolts go through before the rip out. I resined the wood but have not laid any fiberglass yet. Working on that and modifications to the seat pedestal/stand next.

image2.jpeg
image3.jpeg

image1.jpeg
 
Back
Top