GTStang
Member
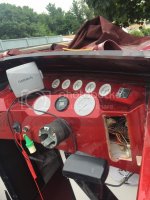
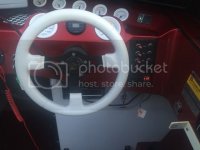
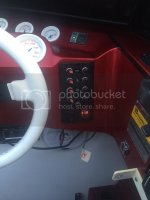
So the 3 switch plus horn button panel(right of steering wheel) on my 89 Convincor was getting a little ratty. You couldn't see the illumination of the switches during the day anymore, the engraving was all faded, and the switches mechanically were worn where it was tough to find what position they were in for the 3 poles.
Sorry I don't have a better picture:

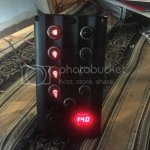
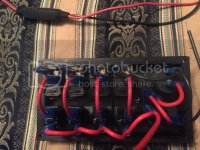
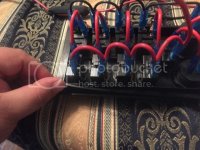
At first I was just going to R&R the original panel with new switches and paint in the engravings but then ran across this panel on eBay which I think gives an updated look could cut a big enough whole to fit in the same area and my 12v socket currently does not work so I would be fixing that also. This panel is obviously a straight from China unit so I was worried about quality but I decided to order it since it was only $45.00 and see for myself.
So the panel came and I'm very happy with the quality even though the panel is plastic it has a nice sturdy weight to it. The switches feel good and have a positive engagement to them. Even came with a gasket to mount against the dash something I could see a cheap unit not thinking to come with.
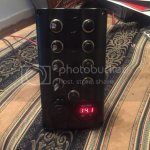
Now I just need to start cutting up my dash! Wish me luck!
Sorry I don't have a better picture:

At first I was just going to R&R the original panel with new switches and paint in the engravings but then ran across this panel on eBay which I think gives an updated look could cut a big enough whole to fit in the same area and my 12v socket currently does not work so I would be fixing that also. This panel is obviously a straight from China unit so I was worried about quality but I decided to order it since it was only $45.00 and see for myself.
So the panel came and I'm very happy with the quality even though the panel is plastic it has a nice sturdy weight to it. The switches feel good and have a positive engagement to them. Even came with a gasket to mount against the dash something I could see a cheap unit not thinking to come with.


Now I just need to start cutting up my dash!

