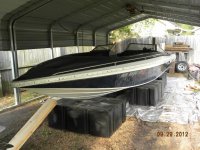
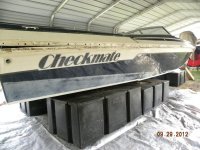
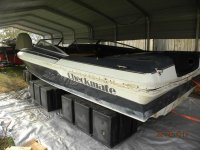
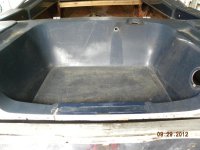
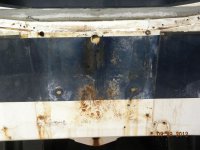
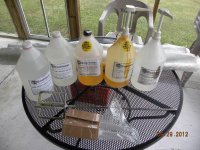
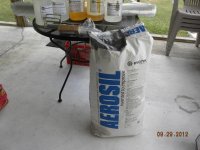
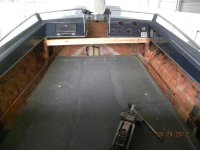
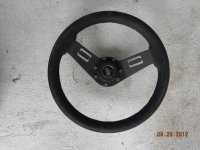
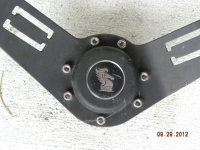
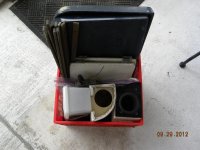
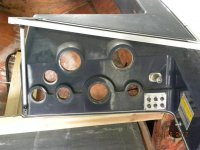
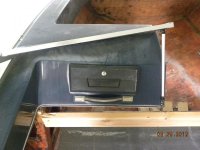
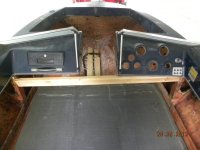
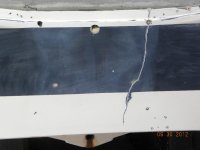
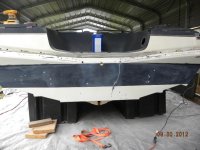
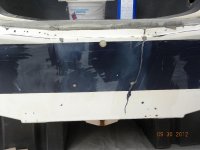
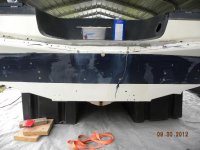
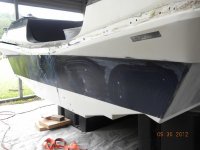
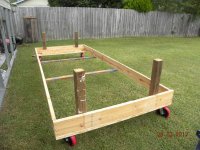
Most of you know that I got Sam I Am's project starliner to finish. Now that the boat is under the carport I got a good assessment of what it will take to finish the restoration. Sam was nice enough to bring the supplies he purchased for the project. The first of order business is to remove the top so that I can finish building the knees and stringers, then the floor goes back in. The new transom is already in. Second will be to modify the splashwell to lipless and repair the outside of the transom. Third the boat will be flipped to repair the keel from the previous owner beaching it. Lastly a full paint or gel job, new interior and rerigging. I have questions for the guys who use epoxy resin, what type of fairing putty do you use? This will be to smooth the transom repair and for the conversion to lipless splashwell prior to painting. So here we go with pictures and the link to the original thread:http://checkmate-boats.com/forums/showthread.php?t=23289
-
Welcome to the Checkmate Community Forums forums.
» Interact with over 10,000 Checkmate Fanatics from around the world!
You are currently viewing our boards as a guest which gives you limited access to view most discussions, articles and access to our other FREE features.
By joining our free community you will be able to:
» Post topics and messages
» Post and view photos
» Communicate privately with other members
» Access our extensive gallery of old Checkmate brochures located in our Media Gallery
» Browse the various pictures in our Checkmate photo gallery
Registration is fast, simple and absolutely free so please, join our community today!
If you have any problems with the registration process or your account login, please contact support by clicking here or by using the"contact us" link at the bottom of the page.
You are using an out of date browser. It may not display this or other websites correctly.
You should upgrade or use an alternative browser.
You should upgrade or use an alternative browser.
1989 Starliner Restoration
- Thread starter Rob B
- Start date
Boo Yah! Way cool to see the old thread pick up in a new one with a new owner. Good luck on your restoration and welcome to the Starliner club.
Can't wait for you to make it up for a Starliner Statue Of Liberty group BOTM photo shoot.
BTW- I still have that steering wheel.
 Congratulations, that's great!
Thanks for the pics. Keep 'em coming.
Can't wait for you to make it up for a Starliner Statue Of Liberty group BOTM photo shoot.
BTW- I still have that steering wheel.
 Congratulations, that's great!
Thanks for the pics. Keep 'em coming.
Ramifications
Well-known member
Awesome... Congrats Robbie and Sam on both of your parts. I'm looking forward to watching this liner come together

You're gonna need a prettier trailer. Those black things don't look very roadodynamic.Sam and I talked about making the trip for Starliner Statue Of Liberty group BOTM photo shoot. He's gonna bring his liner from North Dakota and I from SC. Hopefully I can have it back together before then.
You're gonna need a prettier trailer. Those black things don't look very roadodynamic.
I've got four to go look at, scratch that three now. I went yesterday to look at a tandem axle painted trailer, the guy was out of his mind. The cross members were rusted and he painted the trailer with a paint brush.
 Here's the kicker he wanted $1000.00 for the trailer.
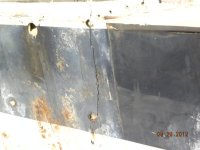
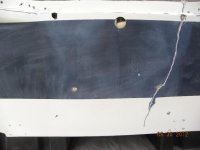
Started doing some work on the transom this morning. I used my dremel tool to open up the crack in the transom so I can repair it. I got a question for the epoxy guys, can I mix cab o sil and resin to fill the crack in then glass over it? Also I have some har line cracks can I glass over those as well? Finally what kind of fairing putty to use to make the surface smooth? Epoxy resin is new to me so that's why I'm asking. Here's the pictures.
Attachments
Yes Robbie you can use cabosil, I have always used the west system fillers with epoxies, but that can get very expensive, depends on type you get... if you dont plant to do a lot of flaring it may be worth it...but if you do a lot...cab should be fine...the process for epoxy is the same as resin...
paulsboats
Well-known member
west system has many additives you can use...high density and low density i cant rememember the numbers off the top of my head sry. making your own saves some $$$$$Sam left me with big supply of epoxy resin, harder, mat and a big bag of Cab o sil!! Hopefully I shouldn't have to buy to much more.I still need some type of fairing putty that's compatible with epoxy resin.
I filled in all the holes on transom using cabosil and resin. I'll need to sand that smooth then add a layer or two of fiberglass mat then add fairing putty(http://www.fiberglassflorida.com/fiberglass-fillers/fiberglass-fillers-adtech/adtech-77-filler.html ) to make it nice and smooth. Here's a couple more pictures.
Attachments
redstrat
Well-known member
Here is a link to West systems filler chart. The fillers aren't to expensive. I used the 410 and 406. They go quite a long way. Lookin goodwest system has many additives you can use...high density and low density i cant rememember the numbers off the top of my head sry. making your own saves some $$$$$


