• Welcome to the Checkmate Community Forums forums.

    You are currently viewing our boards as a guest which gives you limited access to view most discussions, articles and access to our other FREE features.
    By joining our free community you will be able to:

    » Interact with over 10,000 Checkmate Fanatics from around the world!
    » Post topics and messages
    » Post and view photos
    » Communicate privately with other members
    » Access our extensive gallery of old Checkmate brochures located in our Media Gallery
    » Browse the various pictures in our Checkmate photo gallery

    Registration is fast, simple and absolutely free so please, join our community today!

    If you have any problems with the registration process or your account login, please contact support by clicking here or by using the"contact us" link at the bottom of the page.

1975 V-Mate II Restore

Mike, get to work bro!!!!! The MI river takeover is not that far away. Us Ohio'ians need to show them MI guys whats up, LOL!

I should be ready to drop in the motor into the green boat next week!! LMK if you wana come down and hang out.
 
I'm starting to run behind on my schedule so I'll get cracking on this thing.

I should be free most of next week so let me know what you're thinking. I have a machine that's going to be picked up and I'll let you know for sure by this Friday when that will take place.
 
I strongly reccomend "dry" (dont use any caulking) bolting the engine on prior to paint, and any other item that may go back on, biminies ect. right now you don't have to worry about scratching her, after paint you will. And all the dust and grime will be gone by the time it comes to really assemble the boat. Not to mention you'll know if all your bolts fit (right lenght) ect.

There is a jig for drilling the holes for your outboard so your holes are all at the right angle. Maybe someone on here has one, or your local dealer may let you rent it.
 
The wood for the gunnel rails you cut - I'm assuming you will upholster them - but how will you mount them?

They are at Checkmate to get upholstered as we speak. Actually, they've been up there for a while now. It's my understanding that they are going to put some bolts in the wood prior to upholstery that I will have to drill some holes for to mount. I hope to document this in the very near future.
 
I guess since I'm on here tonight, I should update my progress. Last week, I popped the cap back off to remove the wax paper from the rebuild of the spashwell. While the cap was off, I made use of groundloops advice earlier in my thread and drilled some holes and filled some delamination with some epoxy mixed with some cabosil and milled fibers. It's probably not perfect but it's definitely better then what it was. After that, I sanded the edge of the spashwell. I have pictures and will post the next time I'm on.

Today, I glued the cap to the hull and used a mix of rivets and screws. After the glue cures and when I finish painting the bottom side, I'll replace those screws with more rivets. I'm using 3/16" rivets from Tractor Supply if anyone finds this info useful. I hope to get the boat flipped over in the next day or two so I can start sanding and filling. I'm really looking forward to the next stages of prep and paint.
 
Dont forget to clean all that old caulking out of the rubrail area, caulk it up real nice while she is upside down. A huge time saver!
 
You floating yet?

Not yet :yell:...but I do have to boat flipped upside down, almost finished prepping and hope to paint the bottom today or tonight. The past couple of months have been an absolute chaos. Sorry for not updating my thread. I promise to get some pictures on here soon.
 
Mike,

Are you going to spray or roll and tip the bottom?

Brian talked me into spraying so that's what I've been doing. I'll be spraying the third coat here about 5:00 AM and then I'm going to wet sand tomorrow afternoon/evening. I'm going to post pictures Sunday when I get home.
 
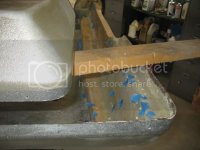
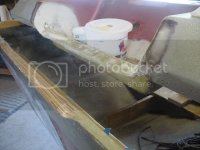
Okay, update time. I finally towed the boat down to my folk’s house a while back. I popped the cap back off and fixed some delaminated 1708 that I glassed. I drilled some holes, mixed up some epoxy with some milled fibers and Cabosil added and used a syringe to fill in the areas. After I saw the areas fill in, I taped them off until everything cured. Then I hit it with a quick sand to smooth everything out.

IMG_3958.jpg

IMG_3959.jpg

IMG_3960.jpg


I then trimmed up newly glassed splashwell. Afterwards, I glued the cap to the hull.

IMG_3961.jpg

IMG_3962.jpg


To flip the boat, we used a pulley system. I unfortunately didn't take any pictures of this process but I will when we flip it back. Basically, there are two pulleys positioned on the starboard and port side of the boat near the stern and two more near the bow. We raised the boat high enough to remove the trailer and we proceeded to turn the boat with the use of ropes. I removed the bunks off the trailer and ran 4x6's across the trailer to set the boat back on to work on it.

IMG_3965.jpg
 
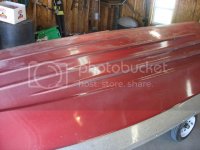
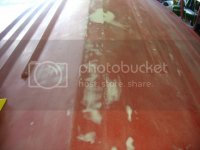
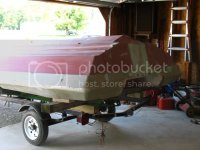
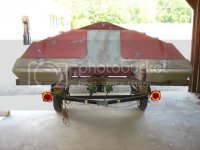
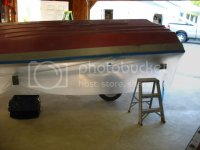
Once flipped over, I have a better understanding of the condition of the hull and what type of filling I needed to do. These pictures are all before any sanding had been done.

IMG_3966.jpg

IMG_3967.jpg

IMG_3968.jpg

IMG_3969.jpg

IMG_3970.jpg

IMG_3971.jpg
 
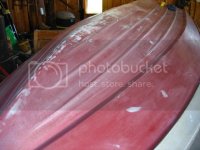
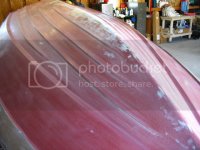
I must admit, this next part have not been much fun. Once flipped over, I sanded the bottom of the boat. Then I filled all the little nicks, chips, scratches and other imperfections that I could find with Interlux Watertite. It's a two part, below the waterline, epoxy filler. The stuff isn't very hard to work with but it does set up fairly quickly so mix in small batches. Once cured, I sanded and refilled any further imperfections.

IMG_4157.jpg

IMG_4158.jpg

IMG_4159.jpg

IMG_4160.jpg

IMG_4161.jpg

IMG_4162.jpg
 
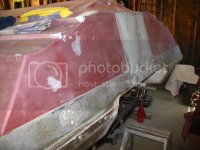
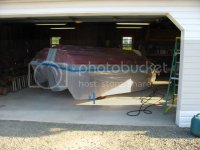
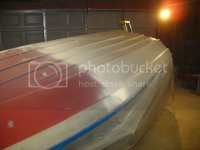
Next I taped off at the rub rail with plastic and wiped the boat down with Interlux 202. That stuff is really strong and will eat through two layers of latex gloves like nothing. You need to be pretty careful when using that stuff.

IMG_4165.jpg

IMG_4164.jpg

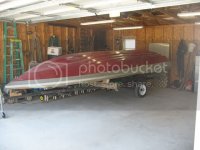
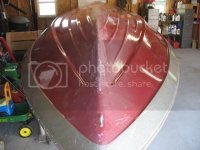
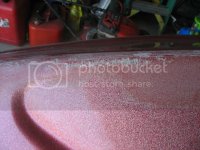
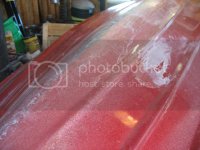
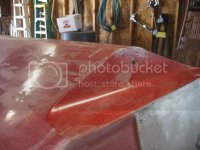
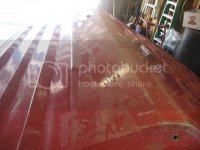
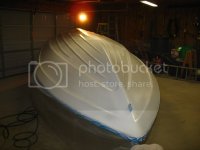
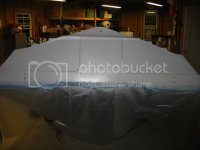
Next, I started shooting some paint. I used Interlux VC Performance Epoxy, a two part epoxy bottom paint. It isn't very glossy but is supposed to be durable for trailered boats. Here are some pictures of the first coat being sprayed on.

IMG_4166.jpg

IMG_4167.jpg

IMG_4168.jpg

IMG_4169.jpg
 
Back
Top