• Welcome to the Checkmate Community Forums forums.

    You are currently viewing our boards as a guest which gives you limited access to view most discussions, articles and access to our other FREE features.
    By joining our free community you will be able to:

    » Interact with over 10,000 Checkmate Fanatics from around the world!
    » Post topics and messages
    » Post and view photos
    » Communicate privately with other members
    » Access our extensive gallery of old Checkmate brochures located in our Media Gallery
    » Browse the various pictures in our Checkmate photo gallery

    Registration is fast, simple and absolutely free so please, join our community today!

    If you have any problems with the registration process or your account login, please contact support by clicking here or by using the"contact us" link at the bottom of the page.

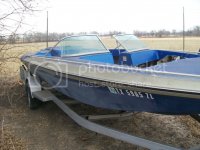
1978 Convincer restoration

23outlaw

Active member
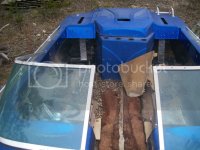
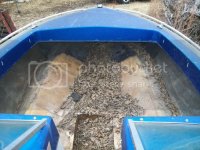
I have finally started the restoration process on my 78 Convincer that I bought from a member on this forum. I am told this model was only produced in 1977 and 1978. I want to keep the blue and silver metalflake finish so I have purchased some new metalflake from Fiberglast.com along with clear gel coat, I have a guy helping me that used to do all the gelcoat and fiberglass repair at the local boat dealer when they sold Checkmates in the early 80's. I have removed the original 260 hp Mercruiser and having it rebuilt and stroked to a 383 with the goal of getting 375 to 400 hp out of it. This is the first full on restoration I have done so if anyone has any pointers let me know. The boat had a rotted floor that the previous owner partially removed, I have finished removing it and found the stringer to have rot in the back 12" or so. The balsa coring is in good shape as well as the foam flotation, The transom is solid. I have got some 1/2" thick CDX plywood (the same thickness that was used originally) to form the new floor and some fiberglass matt and resin. We have cut the wood and are glassing both sides of the floor then installing it. I will post some photos of the boat as soon as I figure out how to do that. The intent is to bring the boat back to what it looked like in 1978
 
Upload your pics to photobucket.com. Then copy and paste from there to here. Option 2 is become a supporting member and then you can load your pics right to the site.

Good luck with your project, we like lots of pics here!
 
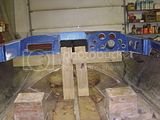
Here are some photos of the work so far.

th_boat001.jpg


th_boat003.jpg

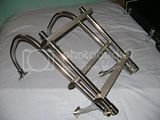
I have also bought a new ladder from Aquarius

th_c6961c42.jpg

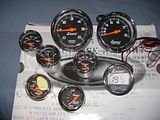
And some new gauges from Livorsi

th_53a41d90.jpg

We will be working on the floor tomorrow night, I will post some more photos then.
 
looking great! diffently better than if I still had it. I wouldn't have even been able to start on it at this point! keep the good work coming.
 
I just picked up the new decals from the sign shop. I had them make exact copies of the factory decals.

th_cdd57b63.jpg
 
I have a friend that works for Livorsi so I can buy them at the same price as the boat manufacturers. I have a new shifter with trim on the handle on order right now.
 
I ordered some fiberglass matt and woven roving from Mike at Checkmate last week. We have cut out the old stringer, replaced it with a new one and glassed it in. The foam floatation was all removed and replaced with new. All the wood for the floor was glassed on the under side to seal it.

8ee22fe1.jpg

I will be glassing in the top of the floor and bulk heads tomorrow and will post pictures of the finished floor then.
 
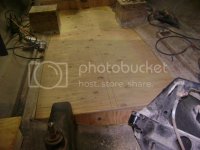
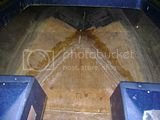
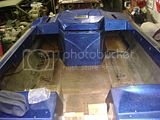
Here are the photos of the finished floor.

th_bbf4b9a4.jpg


th_10568d66.jpg

It has exterior grade plywood that has been encapsulated with fiberglass
matt and then secured in place with woven roving.
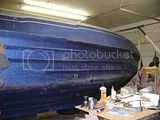
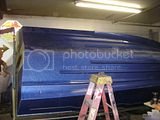
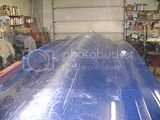
After that dried for a week we picked the boat up and flipped it upside down to fix all the scratches and gouges in the hull. We used 2 cherry pickers and supported the hull with some old tires while we rolled it. We then placed a couple of saw horses under the boat and used the new floor to support the hull.

th_db8fc303.jpg

th_a04b6833.jpg

th_35ff78bd.jpg

th_125d590a.jpg

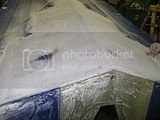
We are now starting to fill and grind all the gouges and scratches out
Then will finish with some new metalflake. I will post photos of the repair
work as it progresses.
 
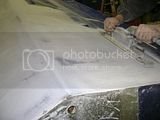
We are now working on patching the gouges and scratches in the bottom. It looks like someone may have hit something with this boat as one of the gouges along the keel were severe enough to require fiberglass matt to patch it. Some of the smaller spots can be filled with chopped glass or clear gelcoat /metalflake. We are also blocking out the hull to make sure there is no excessive hook or rocker in the back 4 to 5 feet of the running surface. When I measured with a 4' straight edge this boat looks pretty good as it sits.

th_f7ae42f1.jpg

th_a5211eea.jpg

Here are some of the materials we are using. It is clear gel coat and some styrene wax, I have since found out the blue metalflake from Fiberglast.com does not match colorwise and have ordered a replacement that is the correct color from a company called house of Kustom.

th_ad63fa4b.jpg

I will post more photos as the work progresses.
 
We have been blueprinting the bottom, there are a few ripples in the running surface that we are taking out.

th_6bca643b.jpg

th_9a484444.jpg

Once the surface is flat and all the edges squared up, we will re-gelcoat the area and wet sand.
 
We will be re metalflaking the bottom of the boat this weekend. I will post pics here as it progresses.

I have just recieved the new rub rail and vinyl insert, this will go on after we clear gelcoat the sides and deck.

Right now the trailer is being rebuilt, the tongue was bent so we cut the old one out and re welded in some new square tubing. The center rollers and bunk supports were all jacked up so I removed all of it and started over. I will post pics here this weekend.
 
Back
Top