• Welcome to the Checkmate Community Forums forums.

    You are currently viewing our boards as a guest which gives you limited access to view most discussions, articles and access to our other FREE features.
    By joining our free community you will be able to:

    » Interact with over 10,000 Checkmate Fanatics from around the world!
    » Post topics and messages
    » Post and view photos
    » Communicate privately with other members
    » Access our extensive gallery of old Checkmate brochures located in our Media Gallery
    » Browse the various pictures in our Checkmate photo gallery

    Registration is fast, simple and absolutely free so please, join our community today!

    If you have any problems with the registration process or your account login, please contact support by clicking here or by using the"contact us" link at the bottom of the page.

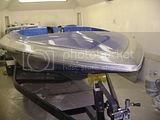
1978 Convincer restoration

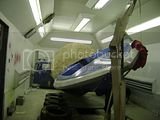
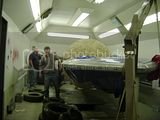
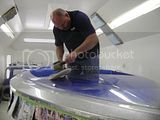
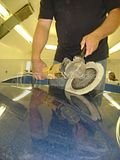
The prep work (other than fixing all the gouges and scratches) and the actual spraying of the gel coat was about the same as if you were going to paint it. The labor intensive part is all the sanding that it takes to get a mirror like reflection and a smooth surface. We have about 40-45 hours just in sanding the hull in preparation for final buffing on it.

I know the feeling!!! My hands and arms hurt for days from all the sanding prior to painting the boat.:shakehead:
 
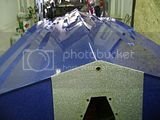
Here are some more photos of the bottom.

th_0b43b41f.jpg

th_977ef562.jpg

I heard about one of the forum members building a wooden
wheel to assist with flipping the boat over. I went out and bought some 4x8 sheets of 3/4" thick plywood and some 2x4's build a support frame for the plywood. I cut some 4x4's and angled them to match the transom angle, drilled through them to use as a spacer for the wheel.

th_6394a17b.jpg

Then we used a cherry picker to lift the bow.

th_0a64869b.jpg

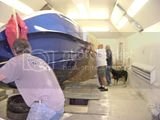
Then I called the neighbors to come over and help roll the boat over
This made the boat so easy to roll without damaging the finish.

th_4ef12136.jpg

th_8a2b0726.jpg

th_31a0284f.jpg

th_8a303c08.jpg

Now we are ready to start prepping the deck for clear gel coat.
We also have some minor scratches to fill on the back by the motor box and then back to sanding again.
 
We finally have the trailer finished and have the boat back on it. the new bunks and rollers support the hull much better than the original junk that was on it. I have started to sand out the deck, there appears to be a lot of clear on most of it so I have been able to sand out a lot of the yellowing that has occured over time. I will have to re metalflake the back deck area around the ladder and the motorbox lid, as it silvered out as soon as we started sanding it. I will get some photos of the work this weekend.

I am going to pick up the engine on Tuesday. (FINALLY) It will be on the dyno and I will get to hear it run. I will post some pictures of it and the dyno sheet next week. I decided to build a 355 instead of the 383 I originally planned. I went through the drive unit from top to bottom and have been told by many people that 400 hp and above will destroy the out drive. ( dont know if that is true, but I dont want to find out the hard way) we are shooting for 350 hp......
 
nice work outlaw! wife caught a glimpse and said "pretty blue! awh i miss the metal flake on our old Diplomat" :thumb: really a nice lookin boat man
 
Thanks, I appreciate the compliment. I am really beginning to dislike all the sanding that has been involved with re shooting the metalflake! But I think the end result will be worth it.
 
I would sand down to my second knuckle to get metalflake that looks that good!

Let me know when ya want to come tour Mt Rushmore ;) You spray, I'll sand!
 
Here are some photos of the deck and the work we have been doing to it.

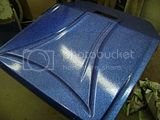
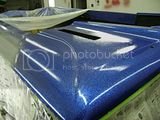
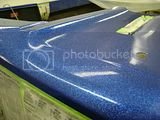
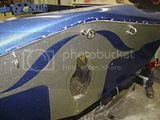
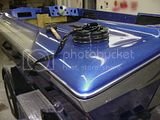
The motor box lid and both sides of the deck at the rear needed to be re metalflaked after they turned silver as soon as we started sanding on it. This is the look before sanding on the new flake/clearcoat.

th_92ca794c.jpg

th_ae34d5d0.jpg

th_b9cba6cb.jpg

While that dried, I started buffing out the bow and the dash section as there seemed to be more clear left on the front 3/4 of the deck. I think it looks pretty good with just wet sanding to get the yellowing and oxidation out of it and then buffing it.
th_8f39fcf3.jpg


th_f7c73e3f.jpg

I will finish buffing out the front part of the deck tomorrow and decide if that is all it will need.
 
Well it looks like the front 3/4 of the deck will wet sand and buff out nicely. (forgot to take the camera so no pictures yet) We will still have to wet sand and buff out the new metalflake on the motorbox and rear deck area around the ladder. This will be a huge time saver! Maybe I can get this thing in the water before the fourth of July!
I ordered all the upholstery today and have a shop starting on rebuilding the interior now. Im going back with the original light gray color and pattern.
 
I'm asleep at the wheel...

...I have no idea how I've missed this thread.

Anyway, the boat looks amazing. I'm hoping to metal flake my boat too. I hope it turns out half as nice as yours. Amazing job!

Sam
 
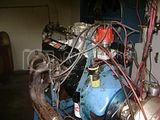
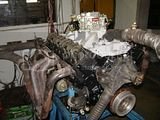
Here are some photos of the engine on the dyno. The valve covers shown were used just for the dyno run, I have a set of chrome covers on it now. The engine is a 355 CID with 9.0:1 compression so I can run on 87 octane. It has an all forged rotating assembly from Scat, an Edelbrock Performer intake and Edelbrock 750 CFM marine carb. The distributor is an MSD ready to run marine pro billet, it has a Comp Cams custom grind hyd. cam with 218/224 duration @.050" and 466/470 lift on a 112 LSA. The heads have been ported and have 2.02" intakes and 1.50" exhaust valves
The engine made 378 hp @ 5200 RPM and 406 ft lb of torque @ 4000 RPM
It makes more power up to about 6500 RPM but I dont think I want to spin the drive unit much higher than 5200 RPM.
This engine has an incredibly snappy throttle response and a nice choppy sounding idle now!

th_8ba02a30.jpg

th_ad29e6fb.jpg

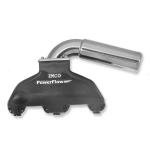
Now I need to get a good exhaust system for it. I am looking at the IMCO power flow set up that MK hammer sells.

power_flow_small_block.jpg

I think these will flow well enough for the engine and still fit under the stock engine cover.
 
By the time you are done the boat is going to look better than new and a 1000% beter than when i had it. great job and I hope it runs as good as it looks. absolutly a beautiful claasic!
 
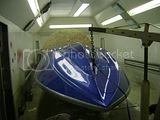
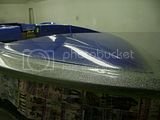
The deck is now all sanded and buffed out.


th_929024df.jpg

I am now starting to bolt on all the hardware and have also installed new aluminum extrusion and vinyl rub rail insert.

th_b717c7c2.jpg

th_43ecdb55.jpg

th_3511887b.jpg

The ladder and "checkmate" decals are next and then the engine and drive unit get installed.
 
Back
Top