yellowfiero88
Well-known member
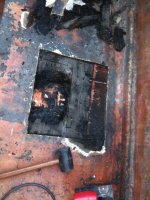
SOME lowes stores stock boat carpet. Out of 4 right around me, only 1 of them has it. The guy says its their most popular selling carpet. They got it in black and grey and its very nice and soft. Cheaper than any online I found that was of the same quality.I have looked at several sites on-line, including one that was recommended here a few weeks ago. Seems like alot, but I need 25 yards at 6 feet wide. That what the old carpet measures...
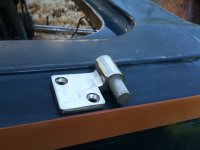
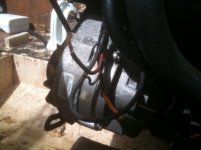
I think this might be what your looking for,Lastly, I need to purchase an alternator. Another problem... The original engine from 1987 has a different engine harness than the new motor has. The new motor originally must have had a serpintine belt, but half of the bracket on the front was gone, so we converted it to v-belts, all 3 of them. Now I am having a problem determining which alternator to get. The wiring harness has think Orange and thick Black wires to the alternator (they should attach to the posts) but it also has smaller purple and smaller red wires also. They are not in a conector, but loose. (See the picture below) Any idea which direction to go? It is a GM engine, but I do not know the year. The block serial number is 14093638 which shows an 86-94.
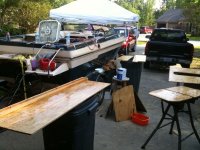
Anyway, we are getting closer!
Bill
http://cgi.ebay.com/ebaymotors/100-...9244289QQptZBoatQ5fPartsQ5fAccessoriesQ5fGear
 Great company to deal with as well and very good products
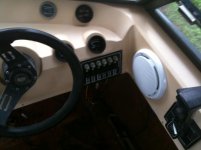
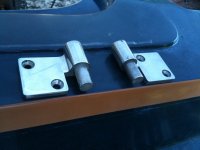
 I got a box from Mike Combs that had some parts for the Senator. He even threw in a few little freebies! That was cool! Anyway, tomorrow the fuel pump and alternator go on, as well as most of the chrome. I hope to also get the carpet cut and glued in. Hopefully I can have some pictures of a nearly finished project this weekend!