• Welcome to the Checkmate Community Forums forums.

    You are currently viewing our boards as a guest which gives you limited access to view most discussions, articles and access to our other FREE features.
    By joining our free community you will be able to:

    » Interact with over 10,000 Checkmate Fanatics from around the world!
    » Post topics and messages
    » Post and view photos
    » Communicate privately with other members
    » Access our extensive gallery of old Checkmate brochures located in our Media Gallery
    » Browse the various pictures in our Checkmate photo gallery

    Registration is fast, simple and absolutely free so please, join our community today!

    If you have any problems with the registration process or your account login, please contact support by clicking here or by using the"contact us" link at the bottom of the page.

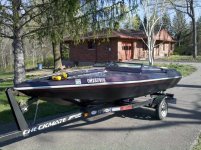
Yellowfiero's playmate resto!

38218574019_large.jpg
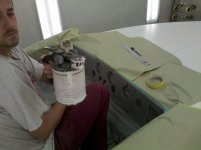
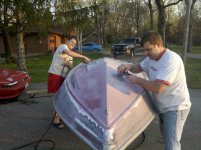
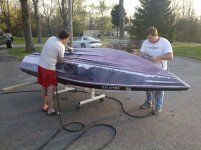
My buddies Steve (with the joker smile!:devil:) and Evan doing the hard work. They and a couple others will be helping to get this together. Usually I never show people in my pics, only the work that is done. But I guess they need credit for the help their offering, LOL!
38218574021_large.jpg
38218574020_large.jpg
38218574022_large.jpg
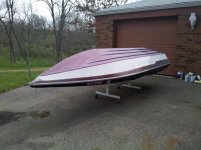
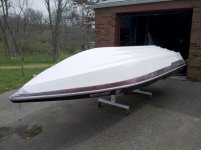
And today I got the bottom paint done! I used the introlux VC epoxy with teflon. The same stuff I use on all my toys. Easy to spray, holds up great, and cleans well. I sanded the surface with 80g on a DA sander. Went over that very light with 180 DA and anything else with 180 by hand. Process is to mix 1:1 but I add another .5 lacquer thinner. So 6oz color:6oz hardner:3oz thinner. Let it sit for 10 minutes and give it another stir. From there, 1 light coat. Let it tack up for 15 minutes. From there, 2 medium to wet coats and your done. I use a Husky gravity gun for this paint and it seems to work great!
38218574018_large.jpg
 
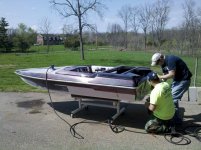
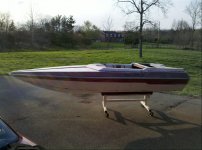
Well, some goof ball with Baja and Ford in his blood came down today to lend a hand :poke:!! I put Corey to work and Evan came out as well. I ran a buffer to polish the bottom. From there, we flipped it back over and up onto a cart. We got it all stripped down to the original gel and called it quits! I got a couple spider cracks to fix and all the old hardware is being replaced with new high end parts! I am hoping to get it to paint by saturday but we will see. I love working on this small boat, 100X easier than a 21'er!
38218574024_large.jpg
38218574023_large.jpg
38218574025_large.jpg
38218574026_large.jpg
I am willing to say this was a really sweet looking boat when it was new. A shame the thing was painted when I got it. The black and red flake did nothing for it compared to a white and red colors. And to think, I am not big on the color red:bigthumb:
 
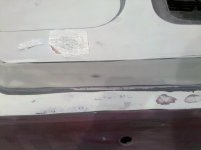
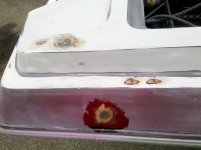
Went out today and got the old hardware holes filled. All filed with fiberglass and then blocked straight. I will only have to fill a couple pin holes with evercoat glaze.
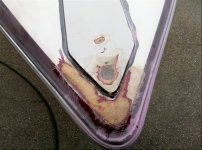
The nose had some stress cracks in the gel. With a base/clear system, it will magnify them so I ground them out and glassed them to make sure they will not show. All the cleat and light holes are now filled and ready for pop up items!:thumb:
38218574033_large.jpg
38218574028_large.jpg
38218574031_large.jpg
38218574029_large.jpg
 
Dang, Brian when we talked I thought you were doing a scuff and shoot. I didn't relize you were doing a custom rehab. Looks like its gonna be a trick little mate.
 
Keith, I was afraid of the old paint reacting with the new. Plus while we're in there, might as well upgrade a couple other things to make it a show stopper! I think am more excited about doing this than Randy is! Plus the fact its getting done the exact way I would do it, who knows..... It might have a BOTM pic in it before it leaves Ohio!! :thumb:
 
still frozen up here

No hurry getting it to Minnesota, lakes are still froze!!

Should we go with the 60 Mariner.....or look for a 100hp? Any ideas?

The progress looks great!!!!!!......did you get the extra for hardware and Bud Light?
 
Yep got it!

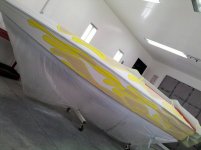
Randy checked off on the paint even tho I can't draw like Foose, you guys can get the ideal!
38218574027_large.jpg
I also ordered the "checkmate" reverse spray mask from EZSTRIPER. He was great to deal with and dropped what he was doing to make sure I got them in time for the paint work (weather permitting) Saturday. Price was also very reasonable. Thanks Rob! :bigthumb:
 
I got a buddy that works at a well known custom shop. He painted his accord with some sweet flames on it. When he did the personalized tags he did "flame n" not even thinking about it. We gave him so much crap about it that he paid another $75 for his new tag "n flames". Funny how a little letter placement changes everything!
 
I got a buddy that works at a well known custom shop. He painted his accord with some sweet flames on it. When he did the personalized tags he did "flame n" not even thinking about it. We gave him so much crap about it that he paid another $75 for his new tag "n flames". Funny how a little letter placement changes everything!

Now that's some funny chit right there.
 
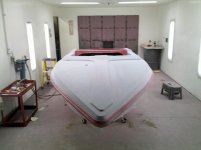
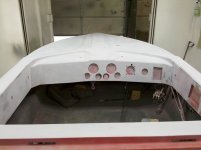
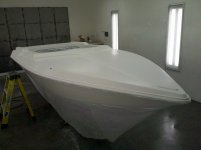
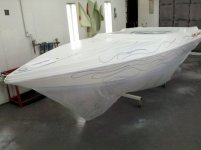
Went out today and with the help of Evan, got it the rest of the way preped for primer. Did the finish work on the repairs with a skim coat of bondo. From there, I got the gauges and rest of the interior removed. We masked her all up and started shooting some good 2K primer all over! When I got done, i mixed a bit of red base and dusted it on to serve as a "guide coat" for the final blocking. The think looks amazing already, can't wait till the base/clear goes on:bounce: Now its time for me to crash as this work has taken a toll on me. I love these muscle spasms that I keep getting, the good thing is I get another epidural shot on Monday so that should help:surf:


Wow your really moving along .... You will have this done before you know it . Than you can start your new project lol
 
When this project is done and before the guys leave, hook them up with some cold ones and have them clean up your garage for ya!:D
 
When this project is done and before the guys leave, hook them up with some cold ones and have them clean up your garage for ya!:D
LOL, not my garage! Its a friends garage that I am using. I wish I had a bigger garage that I could do projects like this. Nothing worse than not having my tool box and trying to do something. I have spent more time looking for tools there than actual work:brickwall:
 
LOL, not my garage! Its a friends garage that I am using. I wish I had a bigger garage that I could do projects like this. Nothing worse than not having my tool box and trying to do something. I have spent more time looking for tools there than actual work:brickwall:

Wow...that says it all Brian. When I don't have my toolbox on a project I feel like Bruce Willis in Armageddon...trying to save the world with just a few crappy tools...
 
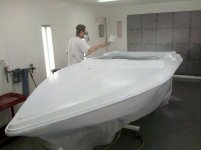
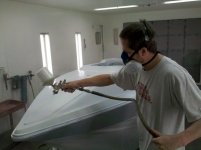
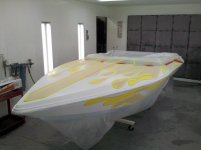
With the team gathered, the body was blocked to perfection! From there, I sealed it and based it in with GM white (off a 88 fiero :thumb:!)
38218574048_large.jpg
38218574049_large.jpg
38218574050_large.jpg
38218574052_large.jpg
38218574053_large.jpg
 
38218574054_large.jpg
38218574055_large.jpg
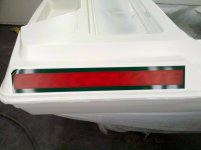
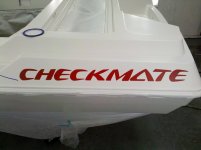
I then did the checkmate logo's
38218574056_large.jpg
38218574057_large.jpg
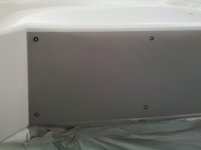
Then on to the dash. I did this in silver, scuffed it to give the brushed aluminum look, then added airbrushed rivets! I should have done more aggressive with the scuffing as you can not really tell it was scuffed!
38218574058_large.jpg
38218574059_large.jpg
 
Back
Top