• Welcome to the Checkmate Community Forums forums.

    You are currently viewing our boards as a guest which gives you limited access to view most discussions, articles and access to our other FREE features.
    By joining our free community you will be able to:

    » Interact with over 10,000 Checkmate Fanatics from around the world!
    » Post topics and messages
    » Post and view photos
    » Communicate privately with other members
    » Access our extensive gallery of old Checkmate brochures located in our Media Gallery
    » Browse the various pictures in our Checkmate photo gallery

    Registration is fast, simple and absolutely free so please, join our community today!

    If you have any problems with the registration process or your account login, please contact support by clicking here or by using the"contact us" link at the bottom of the page.

jeff,s enchanter resto

Status
Not open for further replies.
Can we get a sneak peak at the top secret 007 stuff going on with the boat?:sssh::D

it appears this is so secret....even I dont know about it ...yet :devil:

been on a break anywho, had to make some money for new rigging :eyecrazy:
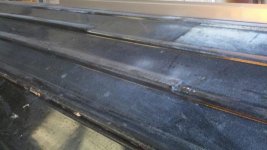
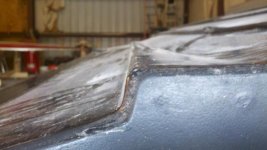
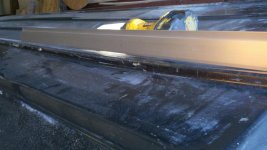
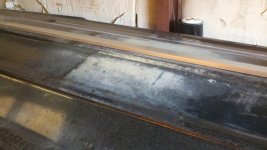
....back at it next week...there will be pics forthcoming... :lol:
 
Jeff , this is a quick mention when doing bottoms .......just remember the longer the board when sanding the area of concern the straighter the surface ....which yields to a washboard effect when using a smaller board .
 
Last edited:
Keith , those sanding blocks are pretty cool i like ........and jeff i will post a few pics of what i do with file boards which will be a must for the job along with a few long boards that i use for sanding by hand just to give you a general idea . Hey Jeff , in case you haven't noticed i have finally posted my age under my Aviator , and wow that is scary thing to see..............................

59 but still homeless...get a job man!
 
Heres a view of the edges on the chine...really round...and also the "cuts" or "drop" in the chine....check out the cracked at the bow...someone forgot cloth....:brickwall:

follow this Robbie...this is where the secret comes in....:devil:
 

Attachments

  • hook 008.jpg
    hook 008.jpg
    46.9 KB · Views: 82
  • hook 009.jpg
    hook 009.jpg
    41.3 KB · Views: 80
  • hook 013.jpg
    hook 013.jpg
    69.1 KB · Views: 74
I'm following so far!! :thumb:The hook in the hull was that from the rollers on the trailer?

I replace most of the core on the starboard side thats the side with 1/2 inch of hook,..... i feel half of that hook is from all the weight to stick the new core, as per coopers ride article. So self inflicted, not supporting the hull from transom forward, the rollers pushed up about a 1/4 inch :brickwall:....the port side has a hook too just not as bad

Im not as mad at myself as i was, since it appears i had some hook on both sides before I started this resto...:shakehead:
 
wiu1x4.jpg
 
Jeff note the size difference between the two boards ( face ) ................which is something that will ......really help make the job that much more easier ( machined ) giving you a straighter surface oppsed to long boarding by hand .
 
Jeff , after viewing your pics of the bottom ,and the strakes are you sure that is original with no mods added .? Just curious .................and the reason being is........ there is to much facial surface ( strakes) squared off from end to end with no scarf joint .
 
Last edited:
Status
Not open for further replies.
Back
Top