• Welcome to the Checkmate Community Forums forums.

    You are currently viewing our boards as a guest which gives you limited access to view most discussions, articles and access to our other FREE features.
    By joining our free community you will be able to:

    » Interact with over 10,000 Checkmate Fanatics from around the world!
    » Post topics and messages
    » Post and view photos
    » Communicate privately with other members
    » Access our extensive gallery of old Checkmate brochures located in our Media Gallery
    » Browse the various pictures in our Checkmate photo gallery

    Registration is fast, simple and absolutely free so please, join our community today!

    If you have any problems with the registration process or your account login, please contact support by clicking here or by using the"contact us" link at the bottom of the page.

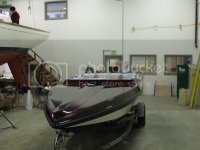
1988 Vision redo

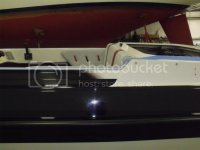
All coming together nicely. Just wondering if your gonna take the rub rail back off or tape it up. To each is own but tapeing it up wont make for as clean and easy job.

was wondering the same thing myself. I would think you would want a seamless coat of paint and then install the rub rail. less chance of peeling this way.

X3 on the curiousity of that. Looking at the pics the raised section the rail is mounted to seems glossy like it's already finished. the clear may be getting masked and broken off in the body line above and below the rail. If it isn't the rub rail should be removed for the finished painting as Keith and Sip said.
 
Looking at the pics the raised section the rail is mounted to seems glossy like it's already finished. the clear may be getting masked and broken off in the body line above and below the rail.

Exactly, --- we did a finish coat on the flat proud section that the rail is mounted .... before we installed the rail.

I will be masking off the clear in the body lines and then blending.
Believe me guys, I would challenge anybody even with a magnifier glass to find the seams when we're done {even after a couple of years :)}

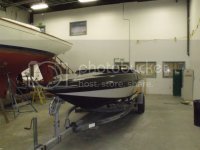
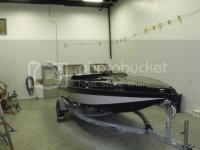
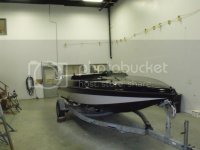
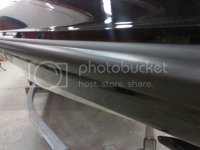
Here is a couple of pics before 2 more finish coats of black -- then retaping for striping.

visionproject74.jpg

visionproject73.jpg

Here is a pic of the "fade to white" we're trying to do.
I definately don't like the way this looks, --- gonna sand down and start over :brickwall:
visionproject72.jpg

Gonna take a rest tonite and do some simple bench work --- need to custom fabricate two 36 inch long grab rails for along each side of the engin pad.
I have a bunch of leftover hardware from my last boat project including a 6 ft section of 1" stainless tube that I think I'll use.
 
How about some slut red flake to blend those lines? boat is looking great Kurt!

Thanks Paul --- the slut red striping paint color is actually a very subtle metalic --not quite "flake" but a fine metalic.
However the blending will be within the black gloss .
We just finally received the custom slut red paint this morning from Awlgrip --it looks even better than the color swath sample they sent me two weeks ago.
Everybody in the shop is very excited to see the striping done.
I took the day off from my real job so I can be here to help move things along a bit, getting nervous running way short on time--already almost a month behine schedule---a lot of late nites coming up.
Taping as we speak.
 
Slick!! It's coming together nicely. Like the idea of slut red. A nice thin stripe maybe.

Thanks, the painted striping is going to stay consistant with the original painted scheme--- basically three inch wide stripes coming down the hood and under the windshield then two inch stripes overlaping the edges the length of the boat.
The difference from original is I decided not to have any taped on vinyl pin striping.
 
So is the paint scheme gonna stay like you planed? Looking good.

Thanks man--- yup we're still on track with the original paint scheme --- I've almost changed my mind a few times but I know from past experiences that it's best to stick with the original plan --as long as you have a plan to start with:-)
 
visionproject73.jpg


Gonna take a rest tonite and do some simple bench work --- need to custom fabricate two 36 inch long grab rails for along each side of the engin pad.
I have a bunch of leftover hardware from my last boat project including a 6 ft section of 1" stainless tube that I think I'll use.

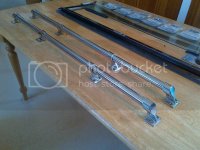
Well I wanted to make a couple of 36" grab rails for each side of the engine hatch.
I dug up some old railing hardware from the attic of my home shop...
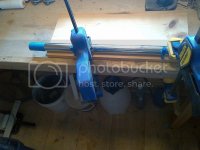
This is a one inch straight rail tube that was about 7 ft long -- I cut the two pieces of tube to 38 inches, then set a jig/mount for each piece to be angle cut at both ends.
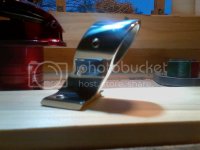
visionproject75.jpg

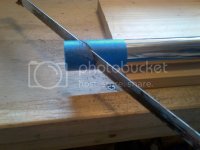
Next I made the cuts.
visionproject77.jpg

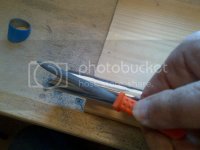
Then some deburring.
visionproject78.jpg

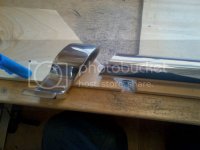
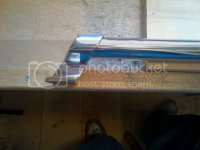
Then check the cut angle to the standoff end piece.
visionproject79.jpg

Then check fit.
visionproject80.jpg

Now, the standoffs need set screws installed, otherwise there will be rattling and movement of the tubes possibly causing the future powder coating to chip/scratch.
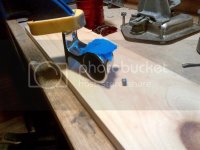
So, set and mark for drilling.
visionproject81.jpg

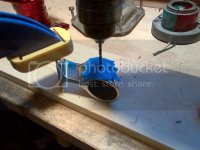
Then drill.
visionproject82.jpg

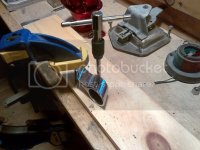
Then tap.
visionproject83.jpg

Ahh, set screw in place --- need to do this on all eight standoffs.
visionproject84.jpg

A couple of real nice 36" grab rails ready for powder coating.
visionproject85.jpg

Pretty good for an hours worth of sitting down bench work.
 
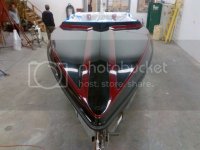
Well I'm finally starting to get my Vision looking like I originally envisioned.

Got the first coat of slut red striping done last night and I am more than happy with what Awlgrip mixed up for me.
The slut red has a fine subtle metalic in it so it "shimmers" real nice under lights, --- unfortunately the camera doesn't capture that.
Previously somewhere in this thread I had mentioned that I was trying to go for a "sinister look" ---- I think we got it...
visionproject88.jpg

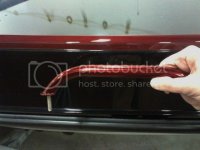
The color match to the hardwares powder coating is pretty close to perfect.
visionproject87.jpg

Tried to get a nice close up picture of the new rubrail and how it's impossible to see where and how we blended the paint coats along the proud edges -- but it's a crappy camera and too much light reflections to see very well ---- you'll have to take my word for it --- it's flawless.
visionproject89.jpg

This is my idea of a "Waterpipe" --- {sorry, I'm a product of the sixties}:sssh:
visionproject93.jpg

One last pic
visionproject94.jpg

This weekend I need to resand off the "fade" on the sides and try again, and again, and again --- til I get that right.{the small things take so long}
By the end of next week, I'll be making a stencil for the CHECKMATE lettering on the sides, -- then I'll be painting the lettering in the same slut red color.
 
sinister indeed Kurtster! looking forward to the end result. care to share the info on the exhaust tips? keep the pics comin:thumb:

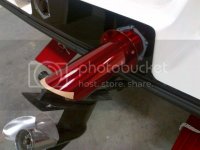
Hey Sip, the tips are long angle cuts from Eddie Marine --- I'm not sure I'm gonna like the "long" style or not --- I did keep the short ones I had on there just in case I want to put those back on.
They're powder coated with translucent jolly pop red {the match to the slut red stripe paint}.
The problem with powder coating the tips was that I had to first remove the internal flappers real carefully with a dremmel cutter, then re-install them after the powder coating with a tig welder {the mounting axle of the flappers is welded}.
The flappers needed to be removed for powder coating because there is a rubber bead glued around the edge of the metal flaps, -- the rubber would have melted in the powder coating oven.

Or were you asking about the "waterpipe" comment :sssh: :D
 
that is the down side to welded in flappers. if i knew you were going through all of that i would have suggested the internal flappers from Teague Marine. Bob made me a set of custom tips and recommended the flappers. they slide into the tip from the rear and are secured with one bolt at the bottom. when it's time to replace the $12 rubber flappers you remove one screw, slide the entire assembly out, remove the two screws that secure the flapper and replace. they may have been a good option for you.

i really like the look of your color keyed tips but i agree they may look odd being so long. either way your boat is going to shine!!

exhaust_flapper-1_zps2317752f.png
 
Last edited:
that is the down side to welded in flappers. if i knew you were going through all of that i would have suggested the internal flappers from Teague Marine. Bob made me a set of custom tips and recommended the flappers. they slide into the tip from the rear and are secured with one bolt at the bottom. when it's time to replace the $12 rubber flappers you remove one screw, slide the entire assembly out, remove the two screws that secure the flapper and replace. they may have been a good option for you.

i really like the look of your color keyed tips but i agree they may look odd being so long. either way your boat is going to shine!!

exhaust_flapper-1_zps2317752f.png

It makes you woder why they're not all just made that way.....
Not sure why I didn't check with Teague Marine before I bought them from EM --- Teague does have good quality stuff.
 
Back
Top