• Welcome to the Checkmate Community Forums forums.

    You are currently viewing our boards as a guest which gives you limited access to view most discussions, articles and access to our other FREE features.
    By joining our free community you will be able to:

    » Interact with over 10,000 Checkmate Fanatics from around the world!
    » Post topics and messages
    » Post and view photos
    » Communicate privately with other members
    » Access our extensive gallery of old Checkmate brochures located in our Media Gallery
    » Browse the various pictures in our Checkmate photo gallery

    Registration is fast, simple and absolutely free so please, join our community today!

    If you have any problems with the registration process or your account login, please contact support by clicking here or by using the"contact us" link at the bottom of the page.

1988 Vision redo

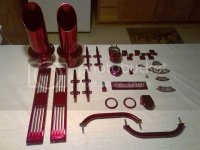
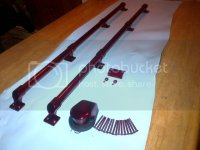
Picked up the remaining red powder coated hardwares last night from the shop.
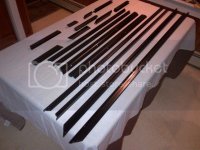
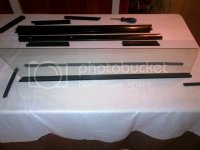
So, now we have every piece of external metal hardware powder coated {and a couple fusion coated} red --- except the windshield frame, --that's being powder coated semi gloss black.

The first pic is the last few pieces to the red collection.....
The second pic are the pieces previously done.
What's not seen in the pics are two additional stern grab rails and the trim tab plates.
The exhaust tips and the trim tab plates wer actually fusion coated -- the difference between powder coating and fusion coating is a matter of how much heat is used to apply -- fusion coating is more durable but much more expensive than basic powder coating.
Those 36" rails are the ones I made up earlier in the thread, the other pieces seen here are the bow nav lite / the rubrail endcap / the mounting screws for the rails and the lite and the endcap.
visionproject107.jpg
visionproject57.jpg

Windshied frame should be done powder coating by next Monday, and I am really concerned if I made the right call on that or not {I'll know monday:confused:}.

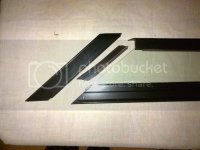
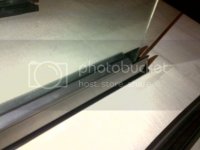
Does anybody know where I can get replacements for the black plastic strips that slide into the windshield frame grooves to cover the mounting screws -- I'll ask Mike at Checkmate when I talk to him again, but maybe someone here in the forum knows of a resource?

On the Plastic strips needed for your windshield. There is a company near Amsterdam, NY. that makes them. I will get the info and pass it on to you. My mind went blank but I'll do research tomorrow. It's a Taylor Made co.
 
On the Plastic strips needed for your windshield. There is a company near Amsterdam, NY. that makes them. I will get the info and pass it on to you. My mind went blank but I'll do research tomorrow. It's a Taylor Made co.

That would be great if you can find that info --- I'm a little surprized I'm having difficulties finding a resouce for them.
I guess it's always the "little things" toward the end of a project that gets a bit tedious.
 
Don and I went round and round for a bit last year since we both have broken/missing trim then his boat broke and we kind of lost interest around then. You can email or call them here:

http://www.taylormadesystems.com/windshields/index.html

Problem is it only comes in 13ft lengths but it's not priced too bad and the will cut it to rough lengths for you so it will be less to ship. Other problem is while the part and shipping isn't too bad they bend you over with a fee for them giving you the privilege of them going out to the warehouse and mailing you the part. I need to finish mine up so I'll probably just bite the bullet and get it even though it's gonna hurt. If you get anywhere going through Checkmate please let me know. I know that
I will end up with a good sized chunk left over from one of the 13ft lengths.

John, You are right on that going round and round. I still am interested on doing what we spoke about. I think I have your measurement on a saved PM. let me know. Taylor # is 1-800-628-5188
 
Thanks Paul. Once I get the boat uncovered in the next week I can measure up again and see what I need.
 
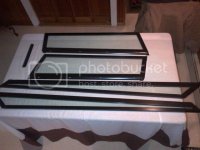
Got the windshield frame back from the powder coat shop.
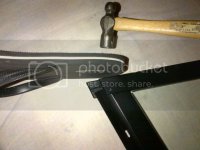
Some repairs needed to be done such as a little soldering and a little aluminum welding -- even had to do a couple of pieces over a couple of times.
But when all was said and done, I am extremely pleased with how it came out, --- it looks brand new.
visionproject112.jpg

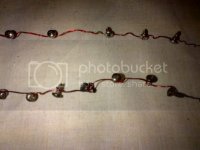
Here are the 20 frame screws wrapped on strands of wire --- will coat and bake them today.
visionproject113.jpg

Here is an example of color matched screw heads --- this will be consistant with all exterior hardwares {red and black} --- yes you do see rain drops on the hardware :irked:
visionproject114.jpg

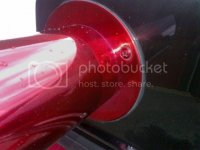
We took the boat out into the daylight to take a good close look at the paint job {the shop lights are just not the same as "real daylight"}----- but as soon as we got it outside, a surpise unexpected rain shower came:pissed:
visionproject111.jpg

So, it got a little wet and we had to quickly put it back in the barn.
visionproject110.jpg
 
beautiful work

Dear Kurt You are doing a Beautiful Job on Your Checkmate Vision. Keep up the Great Work. Have a Great Day and Best Wishes Always Your Friend Sammie Action Marine
 
Looking good. I wanna see a deck shot outside asap.

:thumb:

I'm hoping for a nice deck shot with the new windshield installed by next weekend ---- right now it's sitting in a dark barn waiting for me to install the windshield ---- The only thing really holding me up right now is I'm waiting for an overnite delivery of a roll of gasket tape {for between the windshield frame and the deck}.
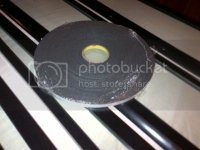
The gasket tape was much harder to find than I thought it would be, in wanting to make sure I used exactly what was on there originally, I found that the tape I removed was 1/2 inch wide 1/8 inch thick ---- I found only one source that could get me this size of this marine grade rubber/foam tape and get it to me by wednesday.
All Points Marine was EXTREMELY helpful to me --- Dave Allard at All Points Marine first told me they were all out of stock of this item {as what everybody else told me} --- however, because Dave Allard is well aware of my Checkmate restoration project and also aware of how anal I am about getting "exactly" the right parts, he took it upon himself to hunt down what I needed and called me back in just a few minutes with a source for the gasket tape, exactly the size and material I want.
Now that's good customer service, and I should have a roll of that tape at my door by wednesday.
I'm gonna have a pretty large roll of it leftover, so if anybody needs some just let me know.
 
I used some standard stuff from the hardware store. Worked OK but not great. Will go with the right stuff next time the windshield is off.
 
Time to assemble the windshield.....

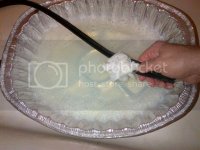
First, I get a tub of warm soapy water ready for rubber cleaning and to make the rubber soft and flexable,--use only a simple gentle hand soap with no detergants / no alchohol / no antibacterial crap / -- just plain garden variety hand soap, because any of those additives will cause drying, cracking, and shrinkage. {believe me, you don't want shrinkage :shakehead:}
visionproject124.jpg

Kinda lay out pieces as I go along making sure angles of rubbers are correct and each frame piece is re-matched to it's appropriate mating piece.
visionproject123.jpg

Old rubbers cleaned up nicely and are fitting quite well.
visionproject122.jpg

Sitting back and taking your time with this stuff is essential {if your like me and not a professional}.
Trying to rush and "over force" {and under-think} the glass into the frame will very often result in a ruined day.
visionproject121.jpg

However, sometimes, well calculated and carefully thought out gentle force is needed --- I knew I'd find a use for those rubber flip flops I bought in the Bahamas last year.;)
visionproject120.jpg

Ahh, finally, assembled and ready to put on the boat --- looks like a brand new windshield.
visionproject119.jpg

Oh and yes I have PLENTY of 1/2 inch wide 1/8 thick single sticky side marine grade windshield gasket.
visionproject118.jpg
 
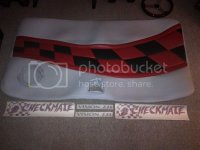
Got new hatch cover skin from Checkmate Ohio last night....

Mike at Checkmate did a beautiful job making exactly what I asked for, -- this skin will look and match the boat perfectly.
The new material is a very high quality and the stitching is top notch.

Also received new Checkmate decals and an original brochure showing the Vision and a whole bunch of Checkmates from yesteryear.
I got to say it again --- those guys a Checkmate Ohio have some great quality products AND services.
Quite a few people told me to just have my hatch cover skin made by any local quality upholstery shop instead of sending stuff through the mail back and forth from Ohio and back.
Well, maybe my local upholstery shop would've done as good as a job, but I love to be able to say that the upholstery in my Checkmate is 100% Checkmate made.
And even with the shipping costs --- I paid less for this skin from Checkmate then if my local shop had done it.

visionproject125.jpg

On my way to the shop this afternoon to put the windshield on and some more external hardwares.
 
Great Looking

Dear Kurt Your Hatch Cover Look's Really Great. You are doing a Beautiful Job on Your Vision. Have a Great Weekend My Dear Friend and Best Wishes Always Your Friend Sammie Action Marine
 
Dear Kurt Your Hatch Cover Look's Really Great. You are doing a Beautiful Job on Your Vision. Have a Great Weekend My Dear Friend and Best Wishes Always Your Friend Sammie Action Marine

Thankyou for the compliment Sammie, -- now if I could only get my Vision to "perform" like your Warrior Vision from back in the day, then I'd REALLY have a high performance boat.....
However 130+ mph is just not in the cards for my Vision,-- I'm afraid hanging around between 60 and 70 {on it's best day} is all it'll ever see :)

Have a great weekend my friend.

Kurt
 
Looking good. I wanna see a deck shot outside asap.

:thumb:

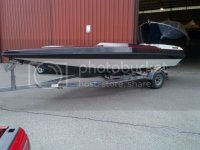
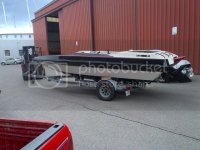
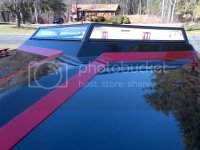
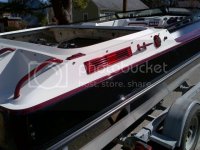
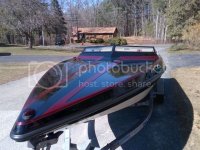
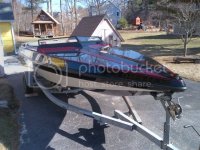
Well, I decided that the ice and snow is probably done finally, so yesterday was a good day to pull the boat out of the shop and bring her home, where I'll do the rest of the redo process at my home in the driveway.
Basically the exterior is pretty much done with the exception of the engine cover and the windshield screw cover trim and the fuel cap.

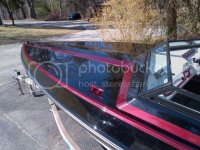
This pic shows the redone windshield still without the mounting screw cover trims --- I still havn't decided to either repaint the old ones or order new ones.
visionproject129.jpg

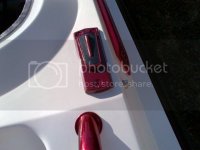
A pic of some powder coated external hardwares.
visionproject130.jpg

As previously said, all visible mounting screws are also color matched powdercoated.
visionproject134.jpg

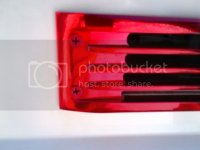
This item here is the stern nav lite socket, --- this is actually made of plastic {fake chrome} -- so I couldn't powder coat this piece because it would just melt in the oven, -- so I cleaned it up, carefully masked it up, and used a little air brush with my "slut red paint" --- presto, a new color matched stern lite fixture.
visionproject136.jpg

Ohhh, the shine
visionproject126.jpg
visionproject127.jpg
visionproject135.jpg
visionproject131.jpg
 
Back
Top