• Welcome to the Checkmate Community Forums forums.

    You are currently viewing our boards as a guest which gives you limited access to view most discussions, articles and access to our other FREE features.
    By joining our free community you will be able to:

    » Interact with over 10,000 Checkmate Fanatics from around the world!
    » Post topics and messages
    » Post and view photos
    » Communicate privately with other members
    » Access our extensive gallery of old Checkmate brochures located in our Media Gallery
    » Browse the various pictures in our Checkmate photo gallery

    Registration is fast, simple and absolutely free so please, join our community today!

    If you have any problems with the registration process or your account login, please contact support by clicking here or by using the"contact us" link at the bottom of the page.

1988 Vision redo

One day at a time.

Thaks redstrat ---- one day at a time is the approach, that's why I started the project November 1st 2012, in the hopes and anticipation that'll be finished up just about exactly on April 30th 2013 -- on time for a May 1st launch.
 
Yes, I think you will have one beautiful custom rig when you are finished!

Thanks GF --- I don't want it to be tooooo custom, just a little bit,I do want this Mate to still be 100% CHECKMATE with just a little personal flare.
After all, isn't that in the true tradition of the Checkmate Boats philosophy,--- handmade / customer ordered boats. Really no two checkmate boats are "exactly" the same to begin with.
 
Doing some more of the smaller work at my shop over the past weekend.
Time to start the redo of the engine hatch/sun pad.

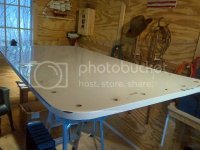
Have removed the pad and glass encased plywood.
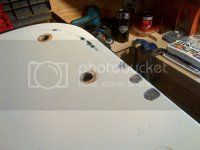
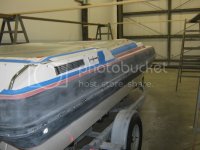
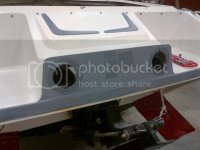
Here is just the skin of the hatch's underneath {engine compartment side}
visionproject37.jpg

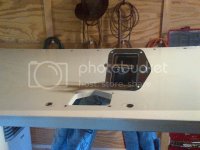
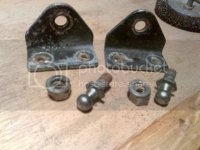
Removed the hardwares {hardware will be refinished}.
visionproject34.jpg
visionproject35.jpg
visionproject36.jpg


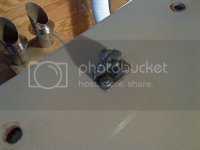
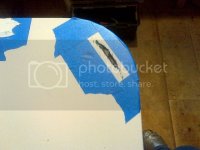
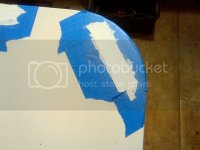
Seems to be quite a bit of minor damage to the fiber glass skin -- some unexplained gouges and "rubbing" scrapes.
visionproject38.jpg
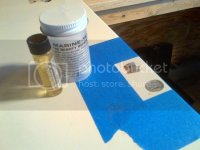
visionproject40.jpg

Love this Marine Tek fiberglass repair -- it can be color matched, very easy to work with, and hardens to a very hard set, -- sands and buffs really well--used it quite a bit in the past and always happy with the results.
visionproject39.jpg

Just gonna do simple repairs to these areas and buff the fillers to as close of a match blend as possible --- for an area inside the engine compartment it'll look just fine.
visionproject41.jpg
 
As we approach the Christmas and NewYears holiday, we started the final sanding and hole filling at the paint shop ---- we'll resume after the NewYear on Jan 2.

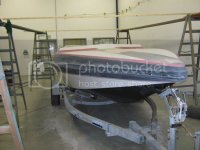
Here we've got all the black and red surfaces sanded up pretty good {still want to run some finer grits around}.
As you can see, I decided to eliminate the ski bit by filling the holes --- I realize a lot of you are water skiers and pull toy people, however this will not happen anymore from my boat , any future owner can certainly redrill a couple of holes and reinstall the bit.
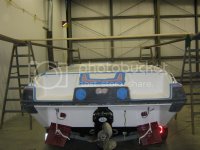
Also, as you may notice, I removed the name of the boat {A-Salt Weapon} -- in light of the recent Conn tragedy, the name A-Salt Weapon may not be appropriate to keep -- I may need a name change ceremony.
visionproject44.jpg

Finnally got the old stick-on decal impressions sanded out, -- the new CHECKMATE lettering will be painted and cleared over.
Also, you can see that we re-glass filled all the old screw holes from the original rubrail.
visionproject42.jpg

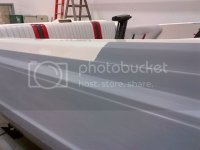
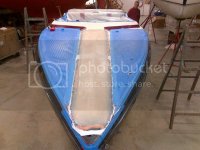
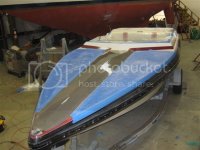
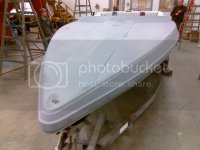
The forward deck and it's new custom layup is sanded and almost ready for primer
visionproject43.jpg

MerryChristmas everyone and Happy NewYear
 
I believe you said you were reupolestering. If recovering the sunpad ever give a thought to doing away with the latches and going to a electric ram. Its a bit of money but a cool and modern update. Just a thought!

Can't wait to see it done. Your making some nice changes. I would love to be able to update/modernize my hull. Maybe in 4 more yrs I can.lol
 
I believe you said you were reupolestering. If recovering the sunpad ever give a thought to doing away with the latches and going to a electric ram. Its a bit of money but a cool and modern update. Just a thought!

I want a electric actuator real bad, but unfortunately I needed to rethink a couple of updates in lieu of other cost over runs -- I picked a specific budget for this project and I'm trying my best to stick to that number.
However, during the next summer, while I'll still be using the engine I have now, I'll be building a new engine in my shop for the following summer and I'll add some of the things I'm missing now to that budget.
 
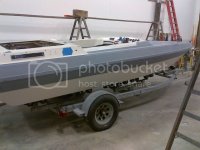
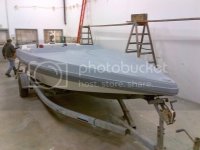
A little more sanding and priming and we're ready for some finish paint {blacks and reds}

visionproject48_zps4643378e.jpg

visionproject45_zps5a878f70.jpg

Here where you see the primer meet the white gel is going to be a tricky color transition whereas it'll be a "fade" from black to white,-- not the sharp transition you see now.
visionproject51_zps7c3930cf.jpg

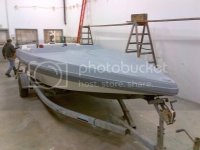
Kinda like the grey primer look -- sort of like battleship grey -- reminds me of my old split window coupe I drove around in primer for a whole summer.
visionproject47_zpsff687418.jpg


Right now I'm also waiting for all the external hardwares to be completed at the powder coat shop ---- and I do mean ALL the hardware, including even all the screw heads for all the hardware {it took me three different hardware stores and an entire Saturday just to make sure I got all the right stainless screw replacements for everything. {sizes / head styles / and quanity}
Two minor issues regarding the external harwares --- the side engine air vents originally are plastic, {you can see them still on the boat in the pics} -- they are being replaced with powdercoated stainless ones from EM.
The two rear grab handles are also being replaced with a slightly different design {and powder coated} from EM -- so you probably might still see the old ones on the boat in the pics.
All the powder coating is being done in "candy" dark red to match the interior accents and the red gel graphics.
Powder coating will be complete by next Wed.

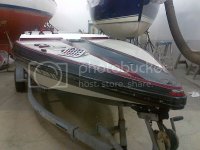
So, just to recap where we started and where we are today.....

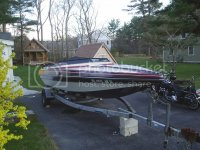
Started with...
Vision.jpg

Then...
visionproject3.jpg

Next...
Visionproject12.jpg

Next...
visionproject25.jpg

Today...
visionproject47_zpsff687418.jpg

We're gonna do a couple of quick "test" gloss coats on the forward layup to check and tweek for a perfect surface and perfect center crease line
 
Looking good! Can't wait to see the final product. I admire the attention to detail you are taking.

Thanks GF ---- the devils in the details :devil:
I know one thing, -- just like some of the hot rods I redid and customized in the past, once I get that first scratch or crack or rip, I'm probably gonna cry :(
 
Kurtster;592761 [ATTACH=full said:
73372[/ATTACH]

You have to admire a man who will live in a tiny house so he can afford some nice toys :poke:
The deck is looking great. Don't worry about the first scratch. After you dry your eyes you'll drive it like you mean it. :bigthumb:
 
That thing is gonna look sick! Can't wait to see some paint on it:bigthumb:

The first scratch is just the first of many... Just think of it this way- It's going to happen eventually, so just get the first one out of the way while reinstalling all of the hardware... that's what I did:brickwall:
 
Back
Top