• Welcome to the Checkmate Community Forums forums.

    You are currently viewing our boards as a guest which gives you limited access to view most discussions, articles and access to our other FREE features.
    By joining our free community you will be able to:

    » Interact with over 10,000 Checkmate Fanatics from around the world!
    » Post topics and messages
    » Post and view photos
    » Communicate privately with other members
    » Access our extensive gallery of old Checkmate brochures located in our Media Gallery
    » Browse the various pictures in our Checkmate photo gallery

    Registration is fast, simple and absolutely free so please, join our community today!

    If you have any problems with the registration process or your account login, please contact support by clicking here or by using the"contact us" link at the bottom of the page.

71 mx-15 restoration and build

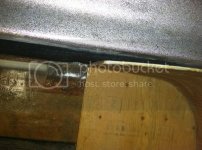
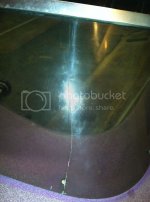
Got the windshield glued. All the excess glue scraped off with a razor blade. Sanded with a fine scotch brite then buffed with polishing compound. Still some scratches but what do you want for a 71 but I think in all it came out awesome.
368-4D53BCF184F9-4005-0000027401E690AE_zps215bb4ef.jpg

AA6-84FBD1138C1E-4005-000002741198C6EA_zps7cbd97c8.jpg

There's still some compound that got in the crack a little got to clean it out.
 
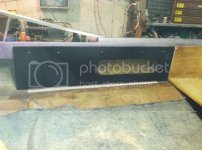
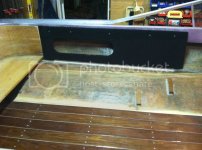
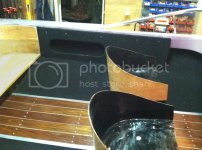
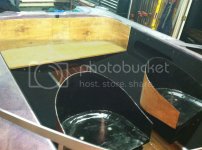
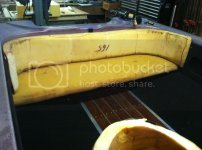
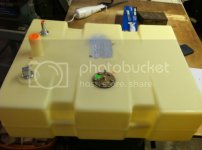
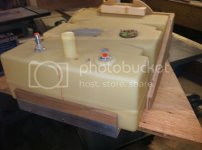
Well I couldn't sleep last night. So instead of chilling in bed looking at boat parts like i normally do when i cant sleep. I thought I would go to my dads and work on the boat. Didn't want to make to much noise. So I would work on the interior. Got the sidle panels covered. The carpet fitted in not but not glued down. I cut seat foam and fitted. The carving knife cut the foam like butter. I'm reusing the foam from the boat I got the motor off of that stuff is not cheep. The carpet and side panels well be ready to go in down the road. I had a nice gift when I got home from the ups man. My gas tank! Witch is going up in the bow. I took all the interior back out tonight so I can get started working on gas tank mounts.
F91-4B6A258F9EAE-8958-000006ACF9ED2434_zps2dc779f0.jpg

839-447F3B9E5E36-8958-000006ACF037E79B_zps1d1221ce.jpg

F43-DBF7F61B2741-8958-000006ACE777AE73_zpscbf10855.jpg

F0B-664226BAC6B7-8958-000006ACD6353F15_zpsfade1bef.jpg

041-3BC1E1D0A769-8958-000006ACCE7495BC_zps827deae2.jpg
 
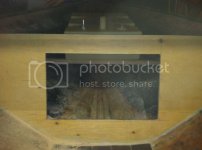
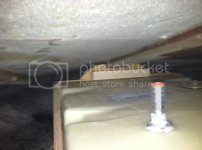
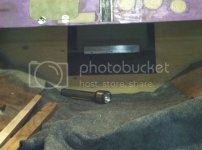
Started to work on mounting the gas tank. Also using it to support the deck stringer. But I had to cut the door in the bulk head firs vary nerve racking. So much fun using the skill saw standing on your head lol. Plenty of room for storage up there I think it will work nice. Also easy to get at the tank.
C4-B498533E4C52-10616-000009657AC643A7_zpsd5c4c752.jpg

DD-0AA06935AB2B-10616-00000965696D8C1F_zps95d146c6.jpg
Not bad cutting good thing iv used a skill saw befor.

07-D5CC2C2A9107-10616-000009652A96E5DE_zps5e4fac83.jpg

33-63ED5C6E3BED-10616-0000096539192542_zps2fe97d56.jpg

87-9D181DAA351D-10616-00000965326FAD70_zps42d1ff92.jpg
 
Great Travis

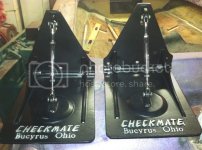
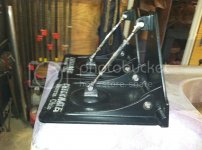
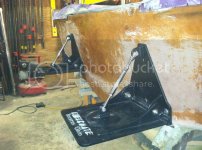
Travis Your Checkmate Trim Tabs look Great. Here is a Picture of my MX-15 that will Help You on Installing Your New Trim Tabs. From the outer Strake your trim tab will be 3/8 on a inch inward from the side of the strake and up 1/2 inch from the bottom of that strake to your checkmate backing plate. just drill the outside hole of each backing plate first and put the bolt through. tighten it just enough so you can make sure each backing plate is level. once both backing plates are level with each other then you can drill the other holes in the backing plate. use good Silicone sealant in the bolts going through the backing plate. on the bottom trim tab when setting them up set them 1 inch high using a level off of the bottom of the last strake. Be careful when tighten the side bolts holding the bottom trim tab to the backing plate. use big flat washers on the outside and inside where the bolt goes there to hold the two plates together and Don't tighten them to much. Travis if you are not sure about the directions send me a pm with your phone number and I will walk you through it on the phone. Have a Great Weekend Your Friend Sammie Action Marine

 
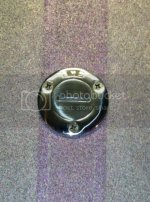
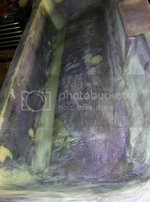
I got the trim tabs mounted on or mocked up. I took them back off shin killers in my small shop. Drilled the hole for the gas fill and hooked up to the tank. I also thought I would try buffing the jell coat just to see if I could bring it back. Holly poop! It came back quite nicely. Wish I known this be for hand. I had to cut the slash well and filled other holes so it's got to be painted but really dig the purple! Calling the boat Branny.
9CD-2CF82F159A7A-1438-0000019437E0627A_zps6b38b027.jpg
boat_zps4174eaab.png
4B8-493D0E09914A-1438-00000194281ACDFF_zpsa2b6c834.jpg
98E-F6D2A518D2A5-1438-0000019406EB0D4D_zpsc10008f2.jpg
4E7-D39B52022104-1438-000001941EDF96C3_zps946ac4c2.jpg
 
Looking good . I set my trim tabs back up the way Sammie had originally installed them on my boat back in 1975 . Actually my boat is pretty much set up the way it left Action Marine all those years ago . Keep up the good work ......
 
Really coming along nicely. You gonna try to save the original finish? Mine was like that first time around. A coat of clear and she looked great.

I was thinking about it to save some money and get it on the water faster. But I think all the spots where I sanded through the jell coat wouldn't look so good. I could go for the rat rod look lol. Like here on the slash well.
ACAD-688D3A0960D5-422-0000003C740F0701_zps634d1dcc.jpg
 
I think the splash well was the hardest part to do . I didnt cut mine out like alot of people have done to repair it . It was a real p.i.t.a too . But I eventually got it . Mine is still sitting in my uncles shop waiting for warmer weather . I do know I will never buy another boat to restore that has been painted . That took the longest trying to strip all the old paint off .
 
Back
Top