• Welcome to the Checkmate Community Forums forums.

    You are currently viewing our boards as a guest which gives you limited access to view most discussions, articles and access to our other FREE features.
    By joining our free community you will be able to:

    » Interact with over 10,000 Checkmate Fanatics from around the world!
    » Post topics and messages
    » Post and view photos
    » Communicate privately with other members
    » Access our extensive gallery of old Checkmate brochures located in our Media Gallery
    » Browse the various pictures in our Checkmate photo gallery

    Registration is fast, simple and absolutely free so please, join our community today!

    If you have any problems with the registration process or your account login, please contact support by clicking here or by using the"contact us" link at the bottom of the page.

71 mx-15 restoration and build

You can use a barrier coat between the epoxy and gelcoat. I think duratec has the primer. From their website:
Will Duratec adhere to epoxy resin laminates?
Duratec Products will adhere to most epoxy resin laminates if the epoxy surface is properly prepared. First, water-wash with a Scotch-Brite or equivalent abrasive pad to remove any amine blush, then sand with 80 grit sandpaper. Wipe down, then apply Duratec. Always test the adhesion between systems that use different chemistries, such as epoxy and Duratec.
http://www.duratec1.com/FAQ.html

http://www.merrittsupply.com/products/28261-duratec-surfacing-primers.aspx
 
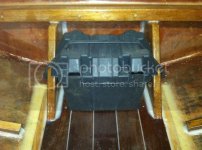
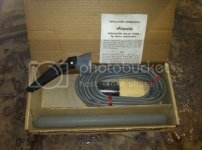
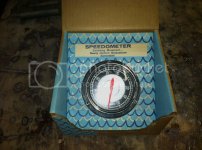
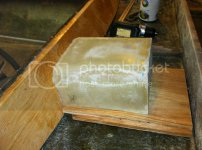
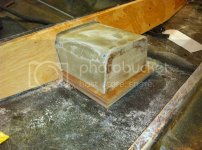
Got the battery box mounted. The pice thats going to lock the side panels to the floor cabosil in . My dad had this speedo and pick up kicking around that he finally found for me to bad it only goes to 50 but there still cool new old stock. Thinking il hold on to these for my next project I plan on building a little 2 setter wooden speed boat. I already have the plans for it :).
6A8-B5F2DBDE8FA7-2509-000002388887D255_zps9b26bd43.jpg

0E4-7B6648E8CACF-2509-000002389A5C407B_zpsd2c75353.jpg

ED4-245A112B9105-2509-00000238AC80382C_zps2086d7e5.jpg

DA4-F9429B891943-2509-00000238B6821006_zps7df26400.jpg

B8A-985787C0518A-2509-00000238BE4E2CD4_zps4f39bcf8.jpg
 
Man, thats to bad about the speedo only going to 50, that thing
would add a nice finishing touch to your dash upon completion of
the boat.
 
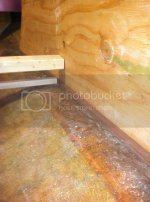
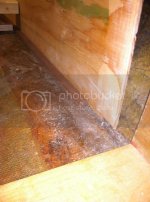
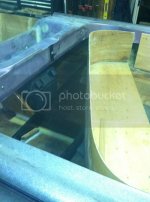
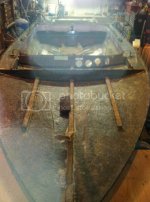
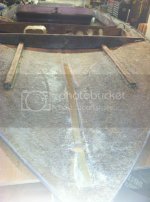
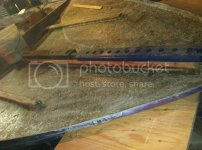
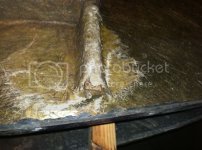
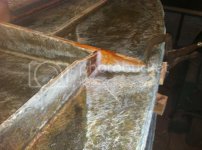
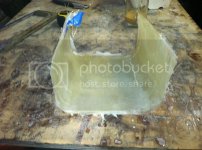
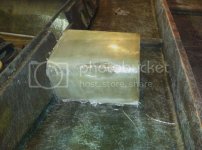
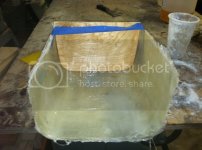
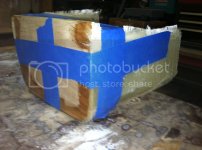
Brought the top outside and flipped it over and brought it back in. Man I do not miss grinding on the old glass. Had to replace the center stringer on the deck lid. Witch I was not planing on doing. It was broken in 2 places. Got the new one made out of a nice pice of mahogany and cabosiled in. Had to fix the ends of the rib on the deck lid where it pulled away. This is where I plan on screwing it to the bulkhead. Hoping it will solve this problem and stiffening up the bow part of the deck so you can stand up there. Idk if I'm getting ahead of my self or out of my skill level but thought I would try it any how. My attempt to make a glove box witch I'm hopping to house the radio beck. I hope it works out as I picture it in my head. :) Faired out the bottom side of the slash well with cabosil to get it ready for the first layup.

0CF-45A73E83E5AC-2509-00000255D91B19C5_zps85f399e0.jpg

D98-3F42DEF720C7-2509-00000257C10A4CA4_zpsa8f2e85e.jpg

DFF-8C919E3C20FE-2509-00000255E45A30BB_zpse3e2ec72.jpg

371-525E297449F3-2509-00000256778D7385_zps816f15e1.jpg

EDA-A59436606289-2509-0000025587C09C57_zps18fc82b4.jpg
 
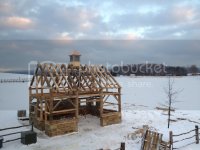
I'm away for work for a week or so. I won't be able to work on the boat at all. But on the plus side it's more money to put in to the boat. Thought I would share what I'm off building for the week a little wagon barn 19' by 24'. The big barn in the back round we built also about 4 years ago.

D69-9012F844834E-5267-000004DE29DF4919_zpsce583625.jpg

8DF-A35F3A265CF5-5267-000004DE423B59AB_zpsf67185fd.jpg
 
Had the day off today. I was able to work on the boat got the underside of the splash well glassed up with the little bit of west system I had left and the stringer on the bow glassed in also. Cut out the old dashboard and got the new one in and glued with cabosil.
2F6-81B1131F2A47-9984-0000082540906BE8_zps1a736418.jpg

6DC-F8CB85CB6314-9984-00000825492327A5_zps66923b6b.jpg

992-B0F5E2D9FF48-9984-0000082523DB5F19_zpsb468024d.jpg

F67-499D1170653A-9984-000008252AE3AFE1_zps97e58d3b.jpg

E45-93332FBB4306-9984-000008251B31E765_zps9102d59b.jpg
 
Great progress YW. Love the historic buildings.

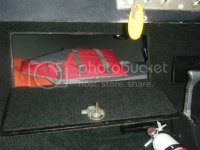
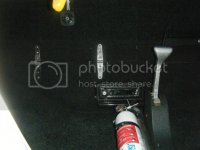
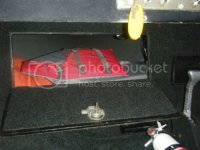
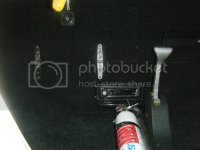
I was thinking about your glove box. Great location, but was thinking that since the wood in the dash is also an important support beam cutting that much out would weaken it significantly. I like to error on the side of strength. IMHO. This is why I put my storage hatches in the forward bulkhead. Here is a couple pics.

2011_0730CrosleyWauseonOhio0049.jpg

I have the larger hatch on the left (great for storage), you can make out the store bought glove box to the right behind the trim handle (silver), and the radio center bottom. All stays nice and dry especially good for the car radio I used. Still works great.

2011_0730CrosleyWauseonOhio0050.jpg

Just a thought your doing an awsome job. You can be proud of her when finished. Sorry about the picture quality.

:thumb:
 
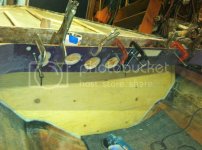
Worked on the glove box a little today. Vary nerve racking cutting such a big hole in the dash when I really don't know what I'm doing lol. I can alway patch it if I don't like it. So far so good I think. Kinda hard to get it to look right. The top of the dash and bottom of that dash are not parallel so it gives it a crooked look. This may drive my OCD nuts if It doesn't look right. Time will tell.

762-94F672FA62BB-1591-000001205F4E1BF4_zpsfc1cf489.jpg

9EA-C78E5A3C3908-1591-000001205847498F_zps18ed0d2a.jpg

5AB-938AB4FE8F0F-1591-0000012051102909_zpsd3bee911.jpg

647-AD3F2287E374-1591-0000012048E50D36_zps862ea79c.jpg

05D-32493B9D6AB5-1591-000001204193701F_zps6808f87c.jpg
 
Great progress YW. Love the historic buildings.

I was thinking about your glove box. Great location, but was thinking that since the wood in the dash is also an important support beam cutting that much out would weaken it significantly. I like to error on the side of strength. IMHO. This is why I put my storage hatches in the forward bulkhead. Here is a couple pics.

2011_0730CrosleyWauseonOhio0049.jpg

I have the larger hatch on the left (great for storage), you can make out the store bought glove box to the right behind the trim handle (silver), and the radio center bottom. All stays nice and dry especially good for the car radio I used. Still works great.

2011_0730CrosleyWauseonOhio0050.jpg

Just a thought your doing an awsome job. You can be proud of her when finished. Sorry about the picture quality.

:thumb:


I thought about that. I also thought about boing the same exact thing you did. But Im thinking about putting a bigger hatch in the bulkhead. One because I'm putting the gas tank in the bow. I want to be able to get in there incase there's a problem . Second I'm planing on storing almost every thing up there. I'm worried about having to much wait in the back. There's an inch or so on the top and bottom of the board on the dash. I was thinking I would add a pice of aluminum angel iron to it to give it back the strath I cut away. Who knows I may not like it and start all over. But thanks for the heads up. Wish I saw this earlier I may have put more thought in to it. Lol
 
All your work is coming together and looking good. Make sure your bulk head is strong. I can tell ya jetmates is. When it gets real fun you would think your foot is going thru it.
 
Nice work on the barn! I rebuilt an old historic barn in my hometown this past spring, and it looks very similar to the one your working on. Looks like it's all mortice and tenon.

Boat looks great by the way!
 
Back
Top