• Welcome to the Checkmate Community Forums forums.

    You are currently viewing our boards as a guest which gives you limited access to view most discussions, articles and access to our other FREE features.
    By joining our free community you will be able to:

    » Interact with over 10,000 Checkmate Fanatics from around the world!
    » Post topics and messages
    » Post and view photos
    » Communicate privately with other members
    » Access our extensive gallery of old Checkmate brochures located in our Media Gallery
    » Browse the various pictures in our Checkmate photo gallery

    Registration is fast, simple and absolutely free so please, join our community today!

    If you have any problems with the registration process or your account login, please contact support by clicking here or by using the"contact us" link at the bottom of the page.

Enforcer Floor resto

Pirelli/vinyl (or why not glass?), and snap in/velcro carpet get my vote. First thing I did with my boat was unsnap the carpet and put it in my garage.

After I wipe down my boat I take the wet towel and sweep anything on the floor to the center and remove it. Carpet is just a PIA and holds moisture against the deck.

After all the work you are doing I'd lay down a layer of cloth fiberglass, resin with some non skid and install the mega velcro or snaps for a remnant of a nice berber/low pile carpet.

Add some blue/red LEDs under the gunnel and you can have a plush cockpit, or pull it out and shake out the sand.

Great idea!!! Dumb question, but how do you pull the carpet up around the captain chairs, I'm guessing it's velcro in that area?
 
The carpet is slotted to go around the bases with snaps on both sides of the slots. My carpet is actually rubber backed as well, so I guess it doesn't slide around, but I've never run with it in.
 
I'm still grinding all the body filler out from the transom, and a bunch of it. I've got to finish sanding where the floor use to be and knock the filler off the stringers. The plan hopefully is to have all the prep work done Friday( I work 4 10's), then pull the mate out wash it down and get it ready for the rebuild. No matter how good you tape everything up dust still goes everywhere.
 
I took and washed mind down several times before I did interior. That run I went on with dogschool a few weeks back knocked some dust out of who knows where. It took 2 hours with the central vac to get her all cleaned back up for winter. It was like it just embedded itself into the carpet.
 
I took and washed mind down several times before I did interior. That run I went on with dogschool a few weeks back knocked some dust out of who knows where. It took 2 hours with the central vac to get her all cleaned back up for winter. It was like it just embedded itself into the carpet.

The same thing happen on my other mate, sure wish Checkmate would use something other than body filler, that stuff goes everywhere.:shakehead: I plan on washing the mate down a few times as well, we've got good weather on Sunday for the mate to dry out, at least that's what I'm pushing for.
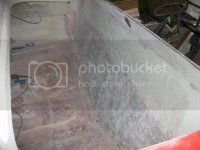
 
Is it just cosmetic or is it necessary to get up all of the fiberglass? Can I grind it down smooth and apply the new glass over the old stuff? Or do I need to go all the way down to the glass directly over the core? Thanks
 
Is it just cosmetic or is it necessary to get up all of the fiberglass? Can I grind it down smooth and apply the new glass over the old stuff? Or do I need to go all the way down to the glass directly over the core? Thanks


You can grind the glass smooth,making sure the surface is clean so that the new glass will bond to the old.
 
Over the weekend I finished the sanding/grinding, got the mate washed down today. The dust from sanding/grinding was everywhere, it to me over an hour to vaccum the mate out. Now it's time to start the rebuild, got the supplies ordered should be here by mid to end of the week. I started making/cutting a pattern out for the transom and it's a PITA. I've got to figure out an easier way to make pattern since I screwed up a sheet of 3/4" plywood @ $29.00 a pop.:shakehead: Anyway I've got a few pictures from today:

100_1825.jpg

100_1833.jpg

100_1832.jpg

100_1834.jpg
100_1836.jpg

sorry for the glare on this one
100_1838.jpg
 
You did a nice job removing the transom.

Are you planning on using poly or epoxy resin? I'm a little surprised that you aren't using coosa for the transom.
 
You did a nice job removing the transom.

Are you planning on using poly or epoxy resin? I'm a little surprised that you aren't using coosa for the transom.

I'm going with poly since I've had good results from the previous resto. I know theirs two schools of thought between the two and read everything I could find. Both have pros and cons. I would've went with coosa board but the closest to me is TN, and was gonna cost alot to ship it here.
 
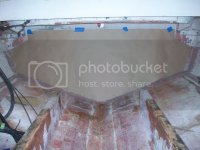
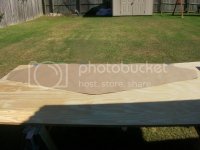
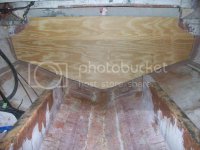
Today I went to Lowes and got some Builders paper to make template for the transom. This worked out great since my transom came in pieces. I got the template made and cut the transom then dry fit to the inner skin. I'll do some sanding around the edges, then encapsalate in glass and resin. Here's some pictures from today:

100_1842.jpg

100_1840.jpg

100_1844.jpg

100_1845.jpg

Three 3/4" pieces fitted that will be glued then encapsalated in glass and resin.
100_1846.jpg
 
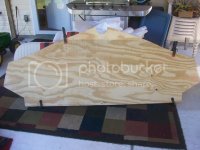
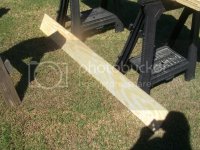
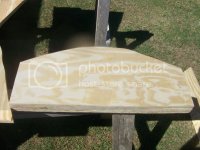
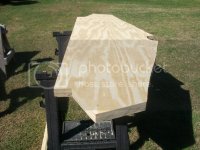
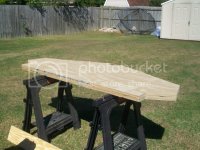
While I'm waiting the supplies from Merton's, I got the bulkheads cut out, three total one in front and back of the gas tank and the last one goes under console. Also cut the top piece that's angled inward, sits above the transom. The transom is glued and screwed together, prior to glassing I'll round the edges.Here's a few pictures:

Top section of the Transom
100_1848.jpg

The three bulkheads
100_1847.jpg

The 2" thick transom
100_1851.jpg

100_1850.jpg
 
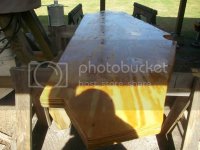
Yesterday I put two coats of resin (both sides) on the transom after I rounded the edges. Next I'll encapsulate the transom w/ mat and resin. The next step will be adding a later of mat to the inside of the transom, then another dry fit before the actual installation. Here's a picture of the transom after the second coat of resin.

100_1853.jpg
 
Back
Top