• Welcome to the Checkmate Community Forums forums.

    You are currently viewing our boards as a guest which gives you limited access to view most discussions, articles and access to our other FREE features.
    By joining our free community you will be able to:

    » Interact with over 10,000 Checkmate Fanatics from around the world!
    » Post topics and messages
    » Post and view photos
    » Communicate privately with other members
    » Access our extensive gallery of old Checkmate brochures located in our Media Gallery
    » Browse the various pictures in our Checkmate photo gallery

    Registration is fast, simple and absolutely free so please, join our community today!

    If you have any problems with the registration process or your account login, please contact support by clicking here or by using the"contact us" link at the bottom of the page.

Transom replacement and probbly more on a Maxxum 281

Looks like you are on the right track, i did my transom in my 90 maxxum 2 years ago, didnt need stringers but pulled up floor to inspect foam and stringers, also ended up having to replace my gas tank. Just take your time and think things thru. Have you ever thought about a pour in transom, little pricey but well worth the money. I have done 2 checkmates so far with pour in transims and doing another 2 this winter. Great stuff plys you can do stringers also if you wanted with it.

Thanks. I already bought the wood so I don't think Ill be doing a pour in.
 
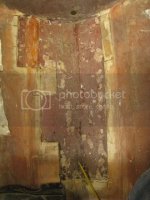
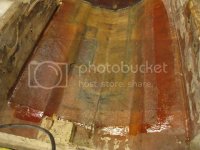
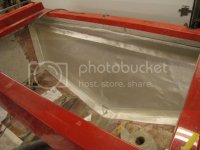
I finally got some time to work on the boat this week... Ground out the rest of the old motor mounts and tapered the glass around the core. Apparently didn't take any pics of that part. Then i cleaned up where the core needed to be replaced and bedded the core in using a thin layer of corebond. I left a place out of the core to be able to mount the depth finder that I will make into a kind of pad/well thing. After blending in the core I put several layers of 1708 in the bottom of the well for strength.
IMG_5878_zpspfronbds.jpg
IMG_5882_zpsveqgbtyu.jpg

With that done it was time to lay some glass over the whole ting. The scary part is that this is the biggest pis of glass I have ever wet out! And it also got 2 layers of 17.
IMG_5886_zpscvqnnvbw.jpg

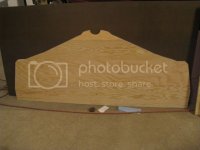
With One of the scariest parts of this restoration out of the way, at least to me, its on to the transom... Cut the pattern out of Styrofoam insulation and transferred to wood. I tried the wood just to be sure. I was hoping to get the wood laid up this week but work is still killing me with overtime. Maby this weekend..

IMG_5887_zpsq50ccrhu.jpg
 
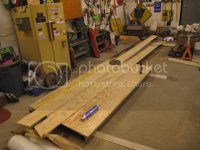
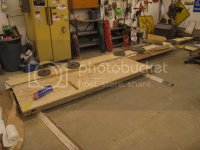
I got the transom pieces cut out two 1/2 and one piece of 3/4.

IMG_5888_zps4jjaxldf.jpg

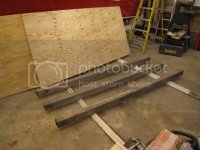
I could not find a flat spot in my garage to lay them up so I had to make one out of some angle and tubing.

IMG_5889_zpsn3tvwkdj.jpg

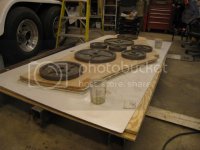
I glassed the plywood together with 1808 in between the sheets. Before I laid the glass i went ahead and ran a DA over the plywood and then blew it off with air to try and get the best adhesion possible.

IMG_5893_zpsan59wxp3.jpg
 
I did get the edges trimmed, the top edge rounded, and the mouse hole angled back (I think that's what the notch in the bottom to clear the drain hole is called :)) And i got it setting in the boat. Just don't have any pics of that yet. Currently working on the clamps... near as i can figure I'm just going to have to check with a strait edge when clamping to not pull anything too far. While I was waiting for the transom to set up I pulled the sink counter top and wiring cabinet out. I don't know what masochistic contortionist they had at the factory putting this rube goldburg cabinet in, but so far removing it has been the worst part of this hole rebuild. I probably have at least 8 hours in trying to get this thing out in one piece without breaking it...and I still ended up ripping screws out of one side.:irked: I'm thinking I may need to come up with a new cabinet design... but that's a long way down the road....
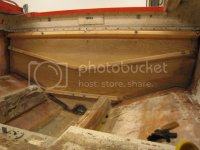
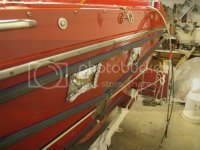
 
Thursday i got the transom bedded in. It was a bit of a pain in the ass to get that much core bond on and spred around. Thankfully I had two helpers...I dont think their is any way I could have got it in without help. I started with the transom already in the boat with enough room to get in their to spread the core bond (didnt take a pic). So I cleaned the boat down with acetone and blew the boat and transom down. I made the core bond thicker with 3% silica and 5% milled fibers... it still ran quit a bit. I had the shop down to 60 so I would have a little more time. Even mixed at .075% hardener the stuff still set up in 20 minutes at 70.

IMG_5911_zpsoi0m048w.jpg

We clamped the transom in with 2x4s on the inside and angle iron on the outside to try and keep it strait. We used screws with fender washers in the corners and some boards in the exhaust holes.

IMG_5913_zpsswvtwmoj.jpg

I let it set for a couple of days before I took the clamps off. Not sure why... stuff set up so quick im sure it was fully set up within 24 hours.. piece of mind i guess.

IMG_5915_zpsujcompmd.jpg

Once the boards were off I filled any gaps and put a radius around the edges so the glass will lay better.
Today i ground everything down and got it all cleaned up and ready to start laying glass. Hopefully Monday i will finish fitting the cloth and get it glassed in.:thumb:
 
Have you ever thought about a pour in transom, little pricey but well worth the money. I have done 2 checkmates so far with pour in transims and doing another 2 this winter. Great stuff plys you can do stringers also if you wanted with it.

Dumb question but how would you do a pour in, in this application where the top of the transom isn't opened up? Just asking in case I have to do mine. Haven't checked the transom yet (mostly because I'm afraid to look;)) but if I do, just want to know how to do it.
 
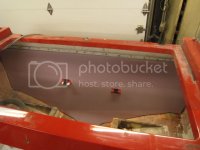
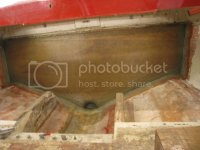
The transom got glassed in Monday. It went pretty well.. measured out and fit the glass first. Then wet it all out. We got most of it in before the resin started to kick. I still need to put another layer of tabbing across the top and a surfacing layer on at some point. Next comes masking off the inside and pulling the tank..

IMG_5917_zps0gkqwnyq.jpg

IMG_5925_zpsaavo0tyf.jpg
 
Very clean work ! I wish I had the facilities to tear into mine this winter while I have the motor out. Would love to pull the floor out just for peace of mind. Looking great !
 
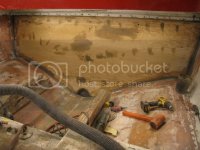
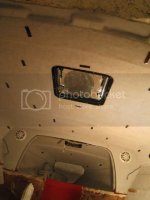
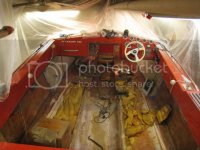
Before Christmas I did manage to get the inside masked off before the next phase of deconstruction begins. Once the walls were out I masked the fuzzy **** on the sealing off 100%... not sure what you call that stuff. To keep it out of the way on the sealing I used sticky backed velcro stuck hear and their.

IMG_5930_zpsq98c2twl.jpg

IMG_5931_zpsvfzt3tfr.jpg


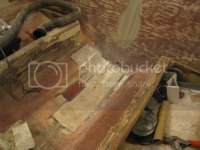
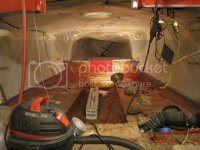
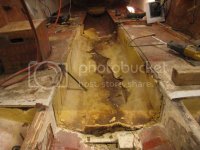
Today I got the gas tank out. It was definitely wet underneath! The tank didn't look too bad but I havent looked that good yet. Tomorrow I will get the gas tank area cleaned up and hopefully start hacking out the floors:bounce:
IMG_5934_zps7ugysvlb.jpg
 
Last edited:
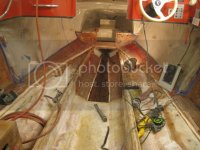
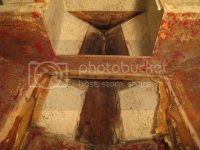
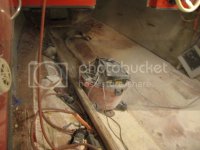
Yesterday I got the stringer out and the wood cut for new ones. Today the I laid one stringer up and started grinding. So much grinding.

IMG_5956_zpsdd3o2as0.jpg

IMG_5953_zpstha0qma9.jpg

IMG_5955_zps3znln6fd.jpg
 
A little more on the stringers.... The original stringers are made from 1-1/8,

IMG_5959_zpsosuigvza.jpg

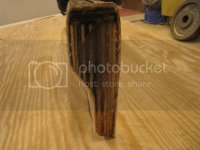
No one in the area has 1-1/8 plywood. So I decided to make it out of 3 sheets of 5/8 that run top to bottom. Apparently Checkmate likes to build with overkill and so do I.:) The wood is cut at a 45* at all the joints and they are staggered so no one joint is closer than 24" The 45s are to the right on the center board and to the left on the outside boards. They are glassed together with 1-1/2 oz mat.

IMG_5967_zpsvgr2jno9.jpg
 
Back
Top