• Welcome to the Checkmate Community Forums forums.

    You are currently viewing our boards as a guest which gives you limited access to view most discussions, articles and access to our other FREE features.
    By joining our free community you will be able to:

    » Interact with over 10,000 Checkmate Fanatics from around the world!
    » Post topics and messages
    » Post and view photos
    » Communicate privately with other members
    » Access our extensive gallery of old Checkmate brochures located in our Media Gallery
    » Browse the various pictures in our Checkmate photo gallery

    Registration is fast, simple and absolutely free so please, join our community today!

    If you have any problems with the registration process or your account login, please contact support by clicking here or by using the"contact us" link at the bottom of the page.

Sam I am's 89 Starliner Restore (Discussion Thread)

Status
Not open for further replies.
Made some sawdust today...

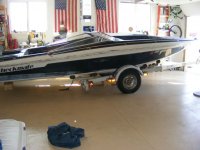
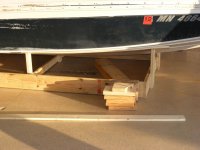
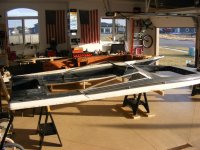
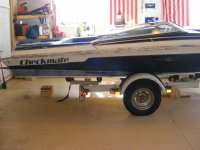
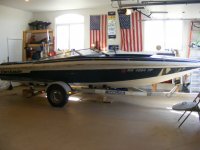
Well...I got to spend a little QT with the Mate out in the garage today. This was prompted by a possible buyer for the trailer under the boat. So...I didn't get to do as much planning as I wanted to with this, but the end result isn't too bad for flying by the seat of my pants.

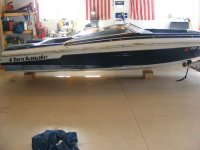
First step was get the boat off the trailer and balance on something so I could build something under the boat. No problem. Sounds simple enough...except it's not. Especially when you're a one man show and don't have a third arm growing out of your forehead. And, let me tell you, I need one of those arms today. But, armed with gravity and absolutely zero common sense. I eventually got the boat off the trailer.
DSCF3001-1.jpg

DSCF3002-1.jpg

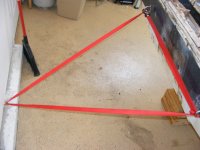
I screwed a large Torques Head lag into the bae plate of the garage to keep the boat anchored in the rear. Then all I had to do was hook up and balance the boat on some blocking.

Except...I forgot to clamp the trailer to the ball!!:brickwall::shakehead: Luckily I was able to step the hitch back down on the boat and managed to avoid the tongue of the trailer coming through the rear window.
DSCF3003-1.jpg

DSCF3004-1.jpg

DSCF3005-1.jpg

DSCF3007.jpg

DSCF3008.jpg

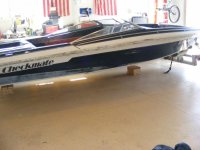
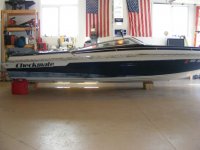
A couple of gas cans under the stern and the trailer was out and the Mate perched.
DSCF3010.jpg
 
Next came the funs stuff....

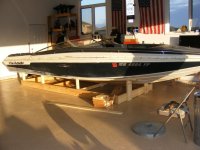
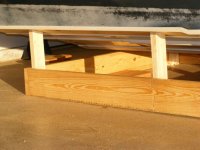
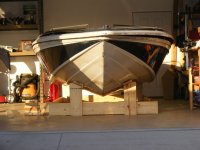
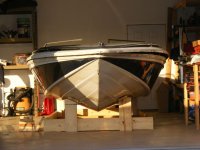
This next part took me all day. It was a lot of effin' around, but I got it on bunks and in a cradle. The plan is to proceed with the demo, get the floor out, get the transom out, get the cap off and on saw horses, and then take the hull outside after it lightens up and then flip the bunks and put the casters on the cradle. It will be a PITA for sure, but WTF...what else do I have to do with my spare time. Well, I found out I might have a whole lot to do in my spare time, but I'll put that into a different thread.

DSCF3001.jpg

DSCF3005.jpg

They're hard to see, but there are 1x6's n top of the 2x4's.

DSCF3004.jpg

DSCF3003.jpg

DSCF3002.jpg
 
Last edited:
Nice work Sam! Way to improvise. Are you going to put casters on the cradle?

A lot to do with your spare time? Are you expecting?
 
Nice work Sam! Way to improvise. Are you going to put casters on the cradle?

A lot to do with your spare time? Are you expecting?

Casters: Yes

Expecting: Nope...might be buying a POS-money-pit cabin. Which...I'm pretty sure will still be cheaper than another kid.
 
Thanks guys. I hope it's up to the task. It's pretty sturdy, but I anticipate a lot of climbing in & out and banging around on it. So...we'll see. Also, it's now low enough where I can work around the perimeter of the floor from the outside. I put a level across the back and it's dead on level. Now comes the messy stuff.
 
How to turn a 3 stall garage into a 1 stall...

a little more progress. This will make de-rigging the cap a lot easier. One question I do have: the front of the hull is filled with foam and it's dry...do I replace it after I remove it for the restore or ust go without it? I think that front compartment would be good for storage or perhaps a subwoofer.

DSCF3002-2.jpg

I'm still amazed by how big a Starliner actually is...it's a beast.
 
Take the foam out and add the subwoofer or use as storage.:thumb: Do you have the foam compartments/boxes that are/were under the gunnells on each side? Looking good!!:thumb:
 
Sam,

While you have the cap off do one small thing, check to see if the bow eye is still nice and tight. The plywood spacer inside the hull on mine got wet and rotted. It is an easy fix now, if needed. I also replaced the bad balsa core in
that area while I was at it.

Jim
 
Take the foam out and add the subwoofer or use as storage.:thumb: Do you have the foam compartments/boxes that are/were under the gunnells on each side? Looking good!!:thumb:

There was no foam under the gunwales of my Starflite or Sims Starliner,
just in the bow and under the floor.
 
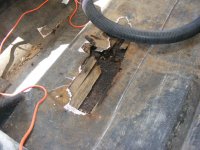
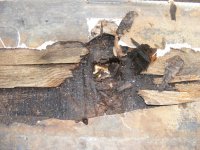
Nope...no foam in the gunnels at all. I also was now able to get a real close look at the transom, strong back, kickers and stringers. The strong back is rotten. No surprise there. I think I'll be able to make some big progress now.

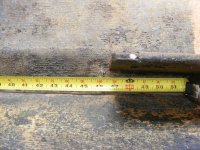
The eye hook is solid as a rock. The core on all the sides actually looks to be good shape...keep your fingers crossed on the core under the floor (although I wouldn't hold your breath). I'm going to vacuum out all the rivets and other garbage, take some pictures with the tape measure so I no where to put everything when it goes back together and then cut out the floor and transom.

So far, so good!
 
Looking good Sam:bigthumb: I wish I had the space to take the top completely off like that, would have made life much easier!
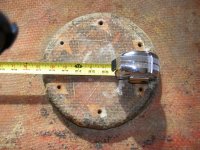
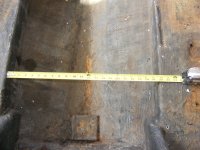
BTW... when you need the rivets, the link I sent you is good. Mine came in today and they are a perfect match!
 
Looking good Sam:bigthumb: I wish I had the space to take the top completely off like that, would have made life much easier!
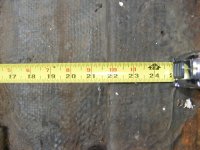
BTW... when you need the rivets, the link I sent you is good. Mine came in today and they are a perfect match!

THanks! I checked out the link and they looked pretty good. Glad to hear they work!
 
sam you may want to support the keel and the chines also

I've had that thought as well. I figured that probably wouldn't matter until I get to the point where I'm ready to reglass the stringer, floors, and transom. After I get all the old stuff out, I'm hoping that I can get enough muscle over to the house to lift the boat off the rack, set it in the yard, install the casters and add some additional support. That's my hope anyway. Right now, I can't even move the lower part of the hull on the bunks. It's heavy.
 
a little more progress. This will make de-rigging the cap a lot easier. One question I do have: the front of the hull is filled with foam and it's dry...do I replace it after I remove it for the restore or ust go without it? I think that front compartment would be good for storage or perhaps a subwoofer.


I'm still amazed by how big a Starliner actually is...it's a beast.

My foam was dry too so I left it in. If I was to do it again I would take it out. Who knows if it is wet underneath. The stuff is a sponge and the less weight in the bow the better. Bow lift is a challenge with these hulls.

Incidentally... I started referring to mine as a beast also when I was restoring it. The name stuck. We still call it 'The Beast'.
 
Definitely remove it. I'm confident mine is dry but I don't really want to open up that can of worms just to gain a little storage space. If I had the deck split that stuff would be so outta there.

John
 
A lot accomplished today...

Got the floor, foam stringers, and kickers removed today. I was going to go for the front stringer to, but I ran out of gas...just plain tuckered out. Lots of pics for you guys...I'll comment as I go.


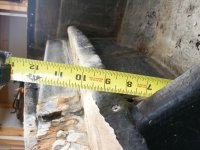
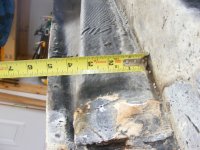
Started out with a tape and the camera to document useful measurements. But, now that I've uploaded I see that at least 6 of my measurement photos aren't on the camera...:shakehead: So, I"ll probably be IM'ing a few Starliner owners out there to recapture that info. These might not make sense to you guys, but they make sense to me, so I'm posting them for future reference.

DSCF3003-2.jpg

DSCF3004-2.jpg

DSCF3006-1.jpg

DSCF3007-1.jpg

DSCF3008-1.jpg

DSCF3009.jpg
 
OK...time to get serious

I took the advice of a lot of restore vets and covered up. PPE is essential as I only got one set of eyeballs and my skin is "sensitive". I was sweating my balls off by the time I got done with the initial teardown. I got by without the tyvek suit, but it still wouldn't be a bad idea. The mask was key.

DSCF3010-1.jpg

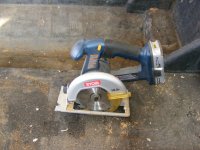
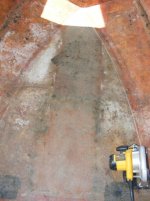
Stated out with the cordless, but it didn't have the muscle to get through the glass, so I switched to my Dewalt circular saw. The Dewalt more than handled the demo work.

DSCF3011.jpg

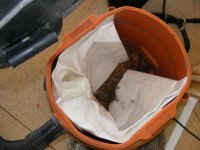
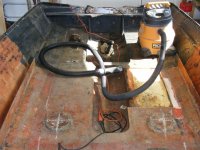
I had a sheetrock dust bag for the shop vac, so I figured that would be a smart thing to put in and grab the glass dust. So far so good.

DSCF3012.jpg

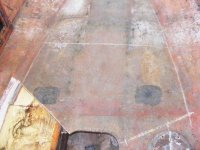
I set the depth of the cut to 5/8" and zipped around the perimeter of the floor and then did some cross cuts between the perimeter cuts.

DSCF3013.jpg

DSCF3014.jpg

I don't know why I cross cut the seat bases...wasn't thinking real clear on that one.

DSCF3015.jpg

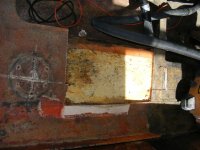
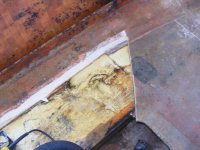
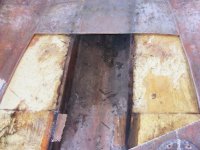
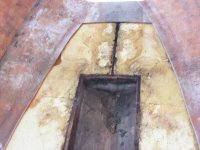
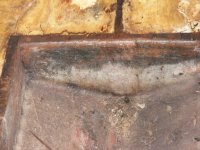
You can see there were some issues with the floor. The PO screwed the battery box right throught the floor. Luckily he didn't pierce the core.

DSCF3016.jpg

DSCF3017.jpg
 
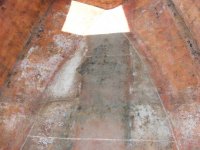
All of the foam was wet. Ended up pulling out three huge garbage bags of wet foam. A lot of weight came out with the foam. Whenever I knelt on the foam, my knees got wet. Nice.

DSCF3018.jpg

DSCF3019.jpg

DSCF3020.jpg

DSCF3021.jpg

DSCF3022.jpg

DSCF3023.jpg

I got lucky and some was able to just lift up on the remaining floor and just tear it out. This ended up being a recurring theme throughout the glass removal and was a big reason I got done as much as I did today.

DSCF3024.jpg

DSCF3025.jpg

DSCF3026.jpg
 
Status
Not open for further replies.
Back
Top