-
Welcome to the Checkmate Community Forums forums.
» Interact with over 10,000 Checkmate Fanatics from around the world!
You are currently viewing our boards as a guest which gives you limited access to view most discussions, articles and access to our other FREE features.
By joining our free community you will be able to:
» Post topics and messages
» Post and view photos
» Communicate privately with other members
» Access our extensive gallery of old Checkmate brochures located in our Media Gallery
» Browse the various pictures in our Checkmate photo gallery
Registration is fast, simple and absolutely free so please, join our community today!
If you have any problems with the registration process or your account login, please contact support by clicking here or by using the"contact us" link at the bottom of the page.
You are using an out of date browser. It may not display this or other websites correctly.
You should upgrade or use an alternative browser.
You should upgrade or use an alternative browser.
Tri-mate 2 over haul.
- Thread starter Chris
- Start date
wizard8575
Active member
drains right out the back from the one corner of it he didnt show. or atlease mine does
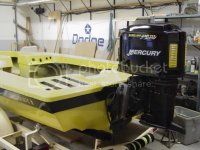
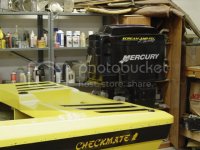
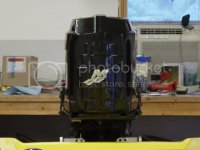
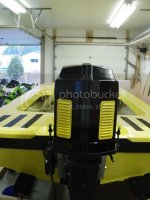
After seeing all the holes drilled in and through the transom, I vowed to only drill the 4 holes for the jack plate. The splash well drain will dump out the bottom (as shown) the water will then tie into the overboard discharge line from the bilge pump. There will be a check valve in the line to keep the water from back flowing into the pump. The discharge is the starboard side rear.
wizard8575
Active member
are you using the old windshield or are you getting a new tinted one made. that what im going to do for mine.
cooperider
Well-known member
He cut a few inches out of the old one.wizard8575 said:are you using the old windshield or are you getting a new tinted one made. that what im going to do for mine.
Looking good Gus!!!!

wizard8575 said:are you using the old windshield or are you getting a new tinted one made. that what I'm going to do for mine.
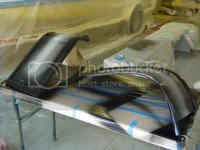
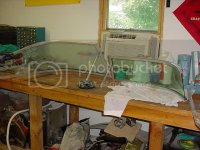
I am using the factory windshield, but like everything on this boat I customized it a bit. I took 6" of height out and painted the frames black.
The modded one on the right.
wizard8575
Active member
aww come on you know some black tinted ones will look really good with your black and yellow theme there is a place here by me that can make exact replicas of any molded plexi or lexan in tinted none tinted or even colored
cooperider
Well-known member
Really lets have the info.wizard8575 said:aww come on you know some black tinted ones will look really good with your black and yellow theme there is a place here by me that can make exact replicas of any molded plexi or lexan in tinted none tinted or even colored
wickedrister
Active member
Custom windshield
Looks sweet Gus keep the pics rolling! Coop I second the motion! Wizard do you have a link or phone numder?
cooperider said:Really lets have the info.
Looks sweet Gus keep the pics rolling! Coop I second the motion! Wizard do you have a link or phone numder?
wizard8575
Active member
ok ok i will give up my connection if i must lol its cool here they are
Soroc Products
Address: G4349 S Dort Hwy, Burton, MI 48529 Phone:(810) 743-2660
Soroc Products
Address: G4349 S Dort Hwy, Burton, MI 48529 Phone:(810) 743-2660
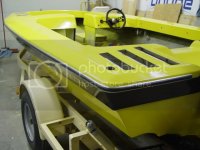
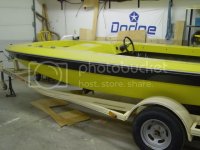
The trailer looks a bit out of place now. I think that will be next winter's project. I have a gal. of yellow left.
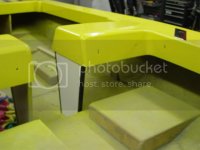
Picked up the foam for the interior parts should be interesting.
Picked up the foam for the interior parts should be interesting.
Broke the plastic off the roll of vinyl today. Very nice stuff. Started with the window supports. Painted the frames black and covered the wood with the vinyl. Should look good as the frames will cover the staples. Also found the great invention called an electric stapler. Oh BABY. POWER TOOLS ARE COOL. Life is much better now. I decided to do these 1st, once done I can mount the windshield.
Gotta love air tools. I looked at the air stapler, just about got one, but there was a major price difference. Once the boat is done it may be awhile before I have to use it again. I may have to look for a powered rivet gun as the rub rail has to go on. Only about a 100 rivets. Good hand workout.

Spent the afternoon putting the rub rail back on. 127 3/16's aluminum rivets and the blister to prove it. Got the black insert in and found out that it must have shrunk about 6" during the last 3 years. I will have to work on that. Also completed the first interior part. Its the support for the passenger side dash. Going to mount the windshield on that side tomorrow.
